Leave Website And Design Feedback Using Markup Tools
Leave Website And Design Feedback Using Markup Tools
This tutorial guides you through the process of leaving website and design feedback using markup tools. You will learn how to provide clear, actionable comments to improve your project effectively.
1. Log In to Your Account
I'll go ahead and log in.
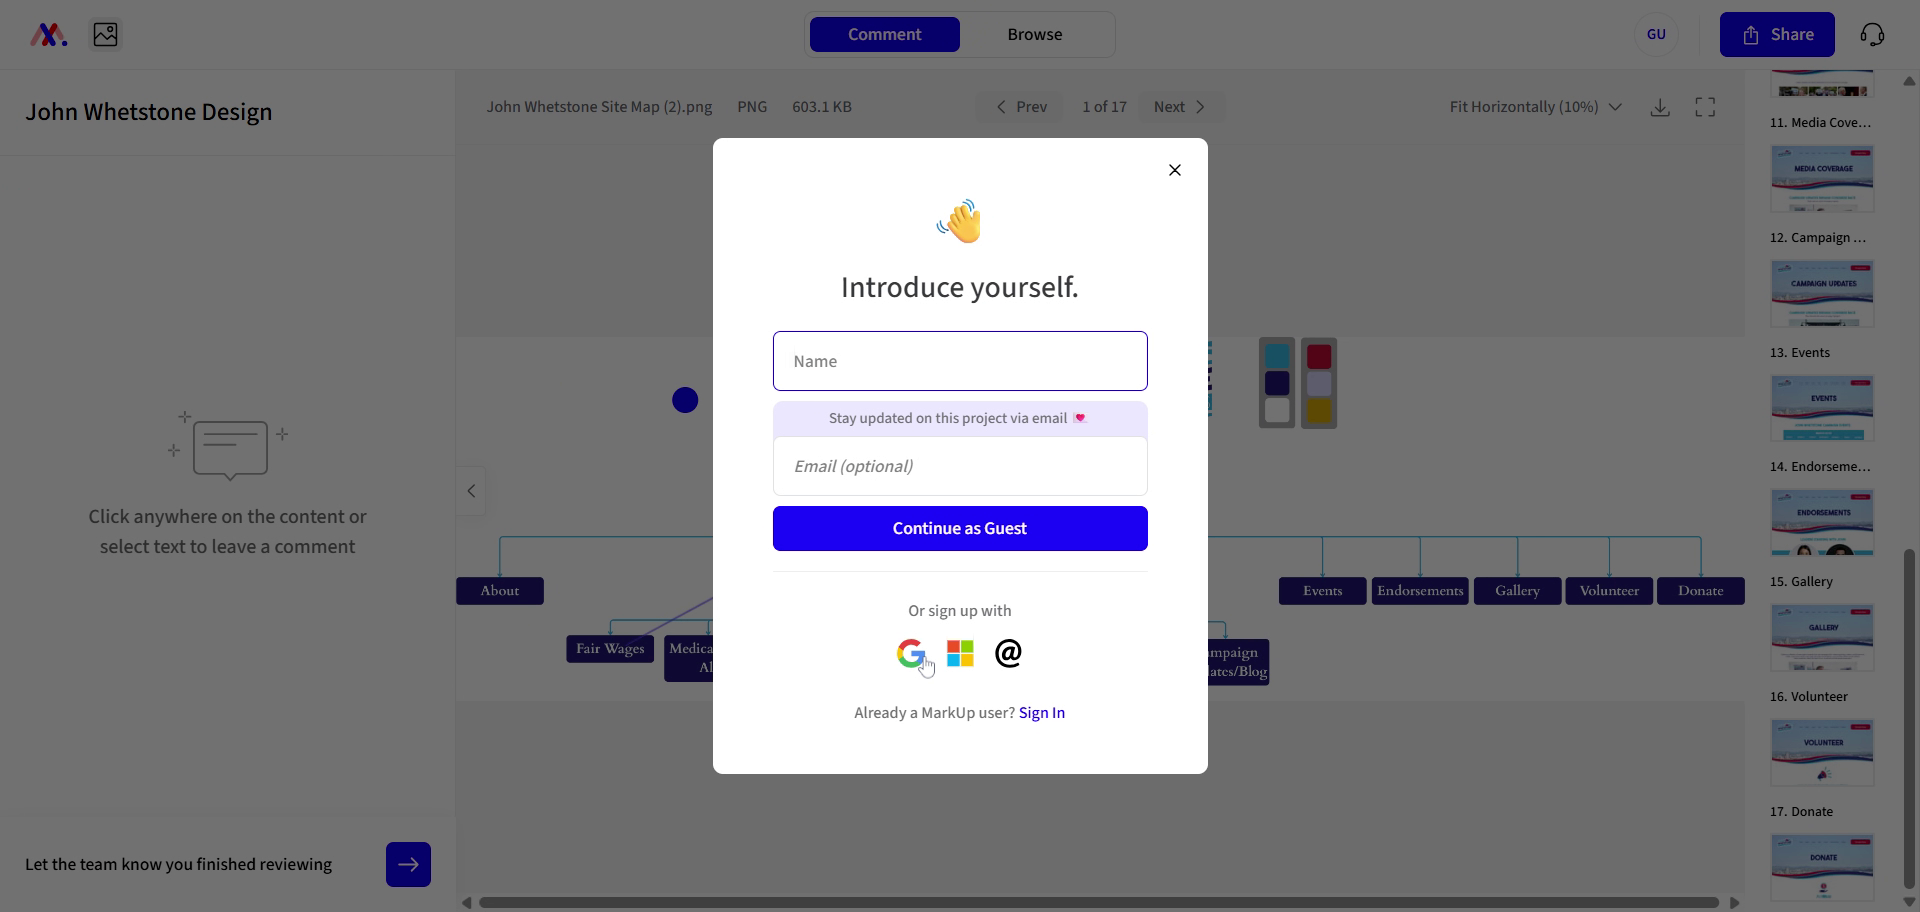
2. Select Your Login Method
Select your login method.
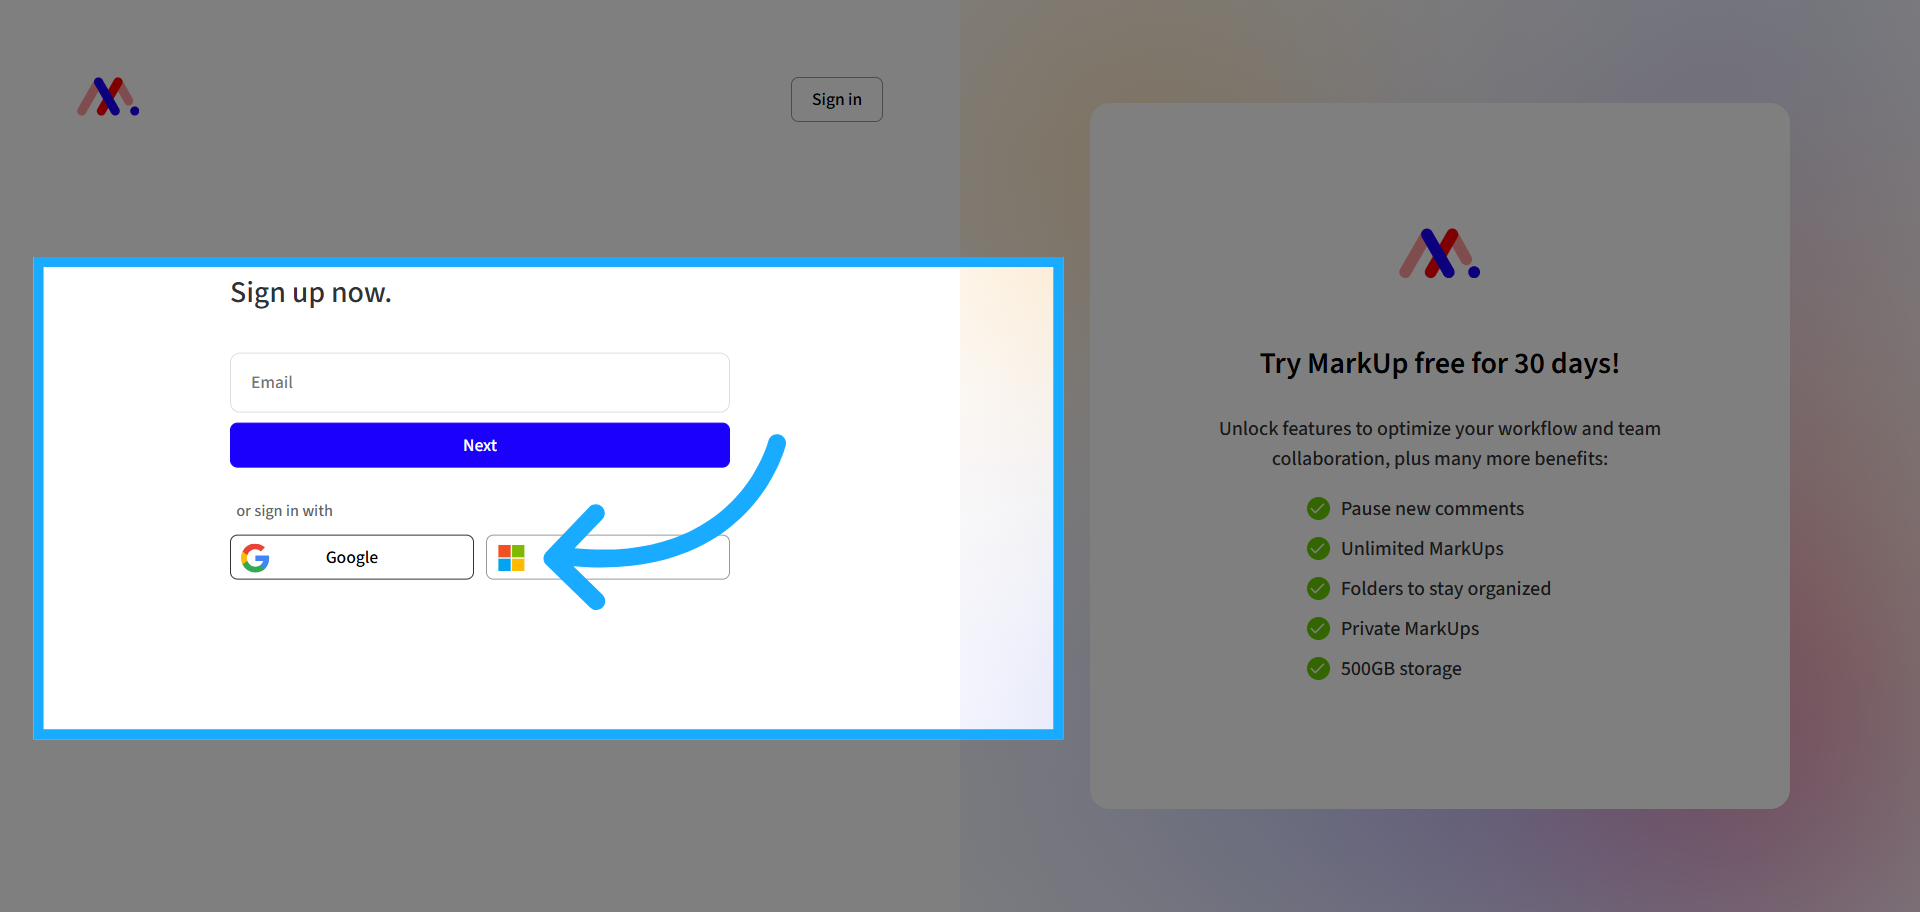
3. Click Login Button
Click the login button to proceed.
4. Understand Design Feedback Purpose
All right, so you are watching this video because you have some type of design that you are leaving feedback for.
5. Learn Key Process Elements
I'd like to show you a few things that are important for this process.

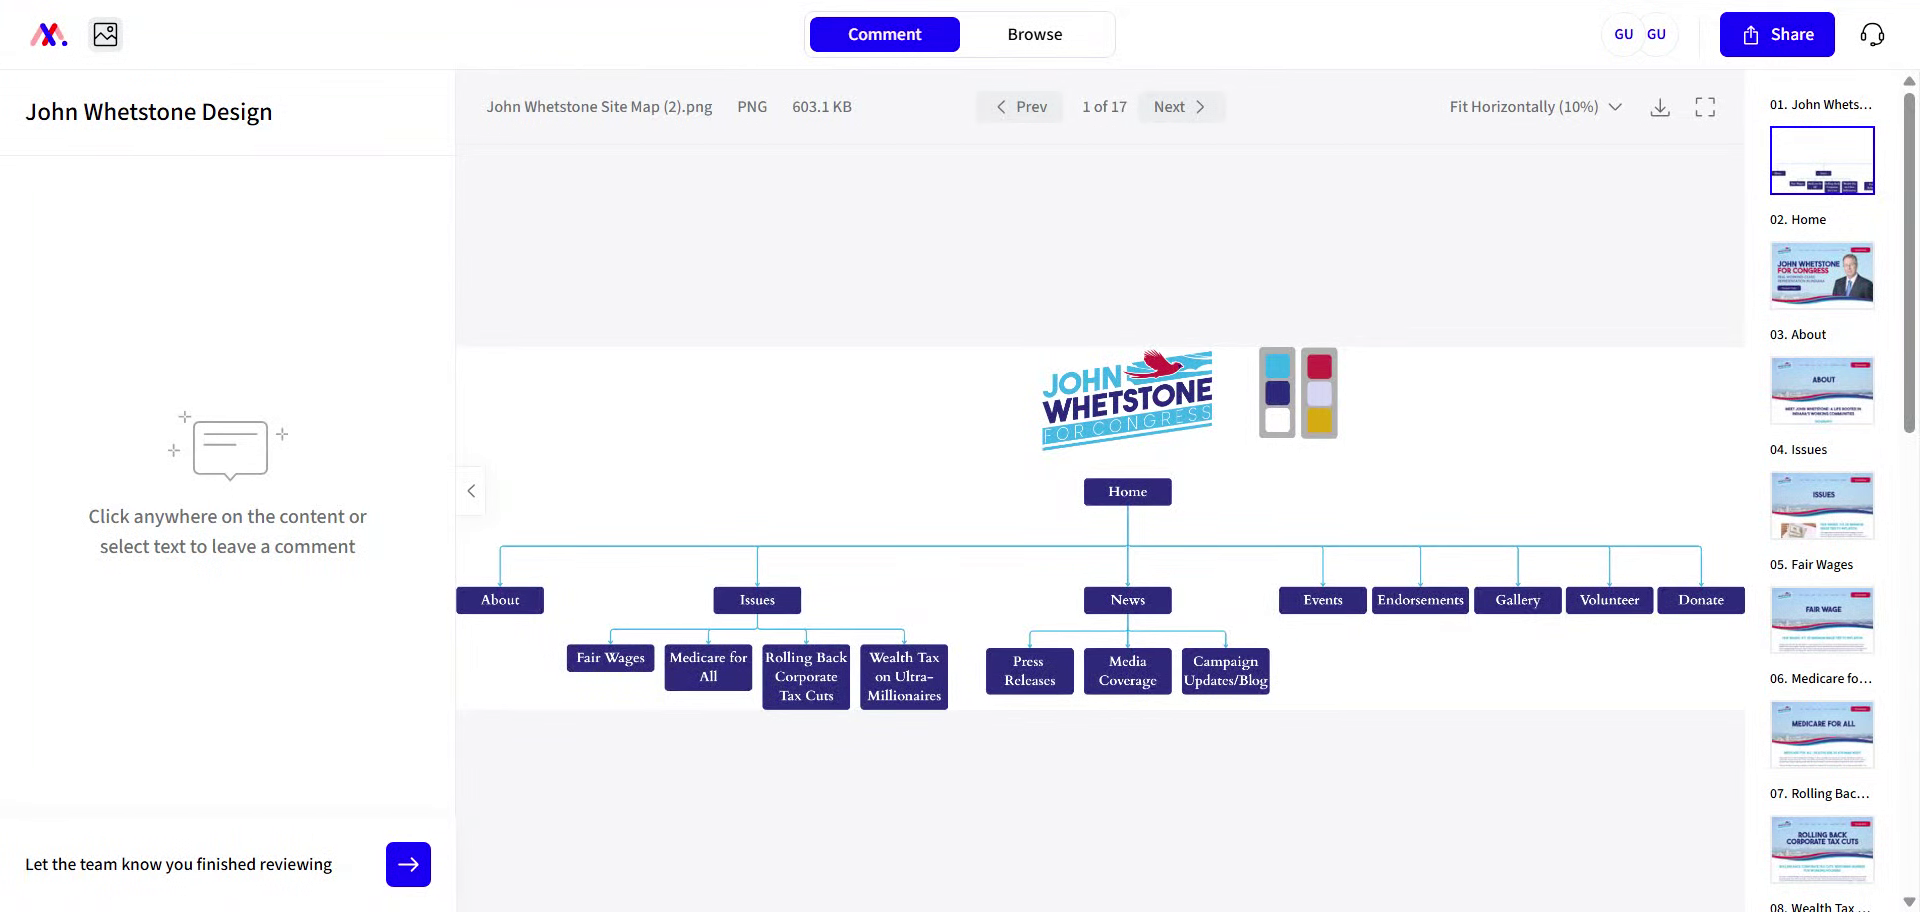
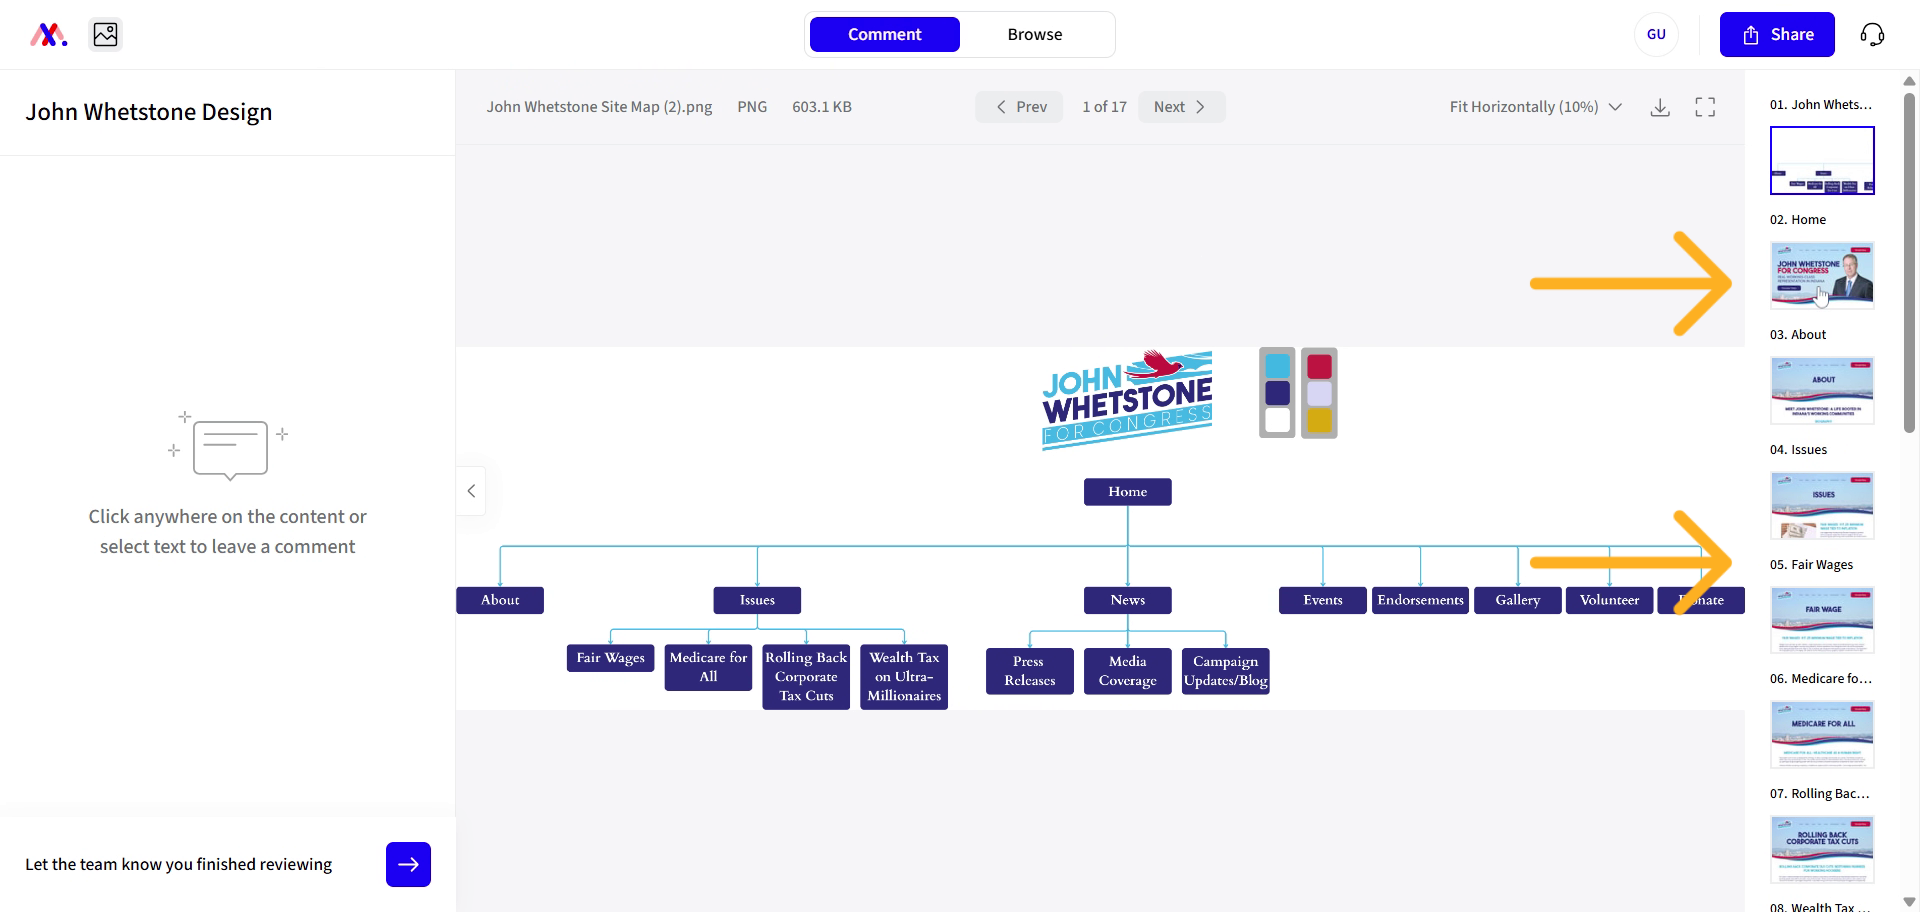
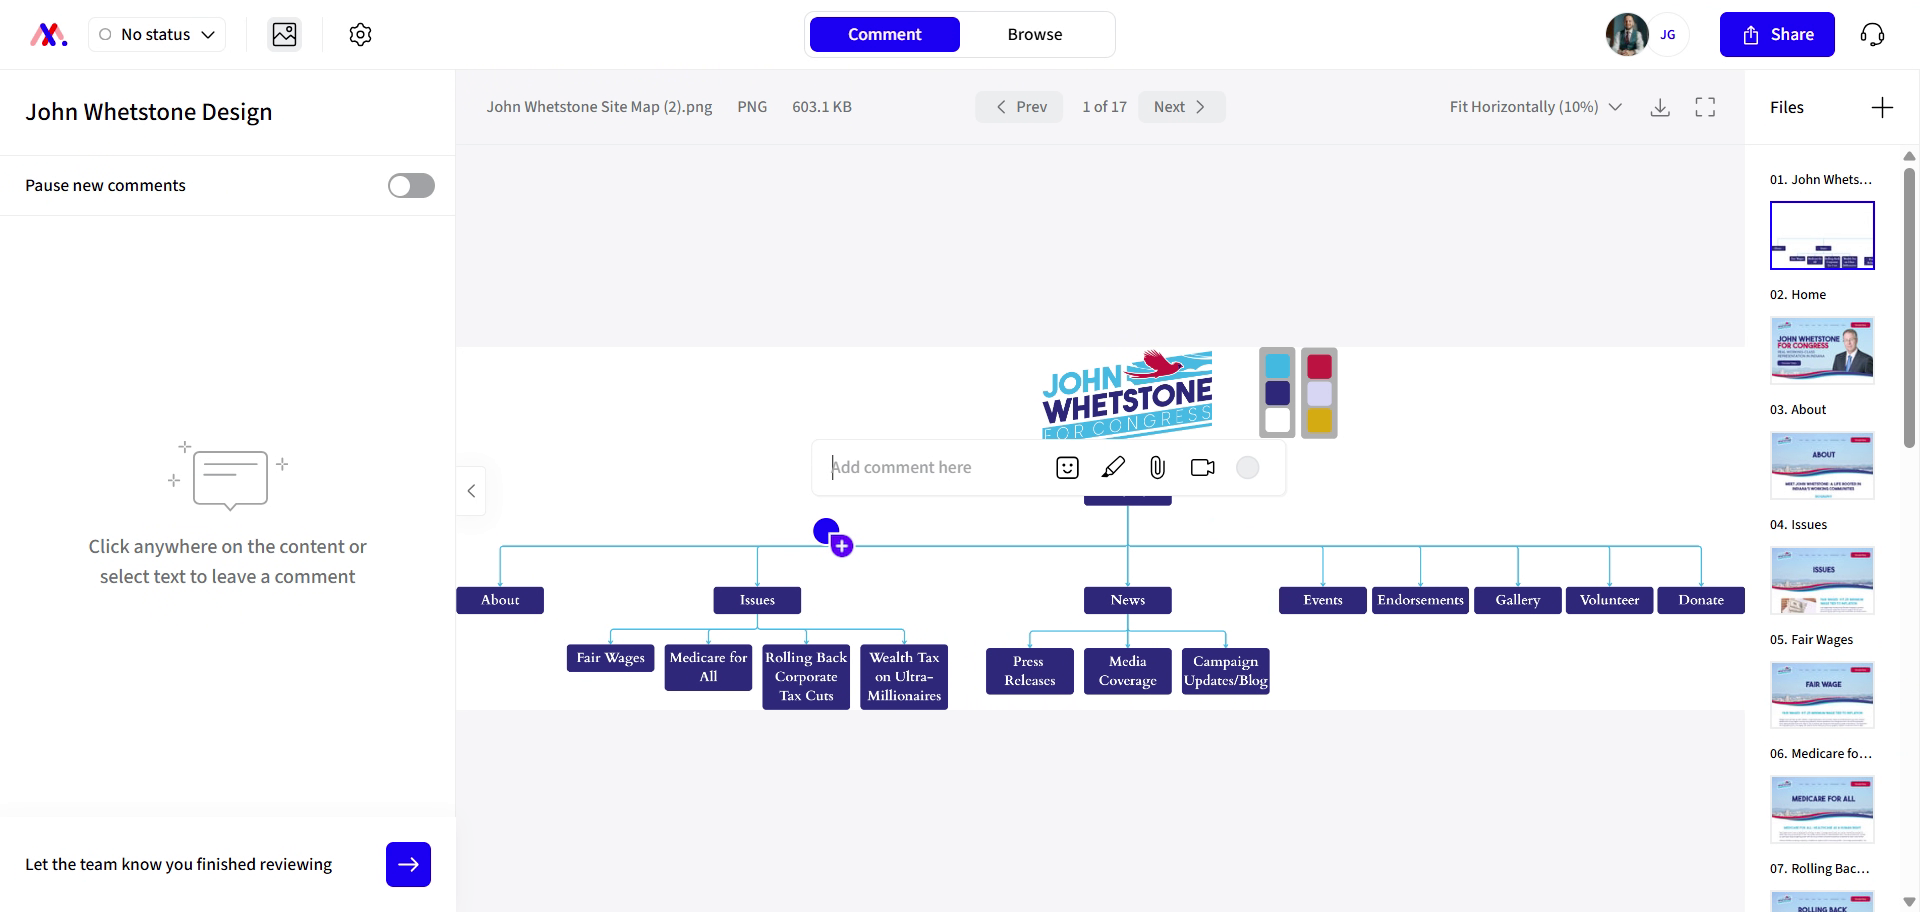
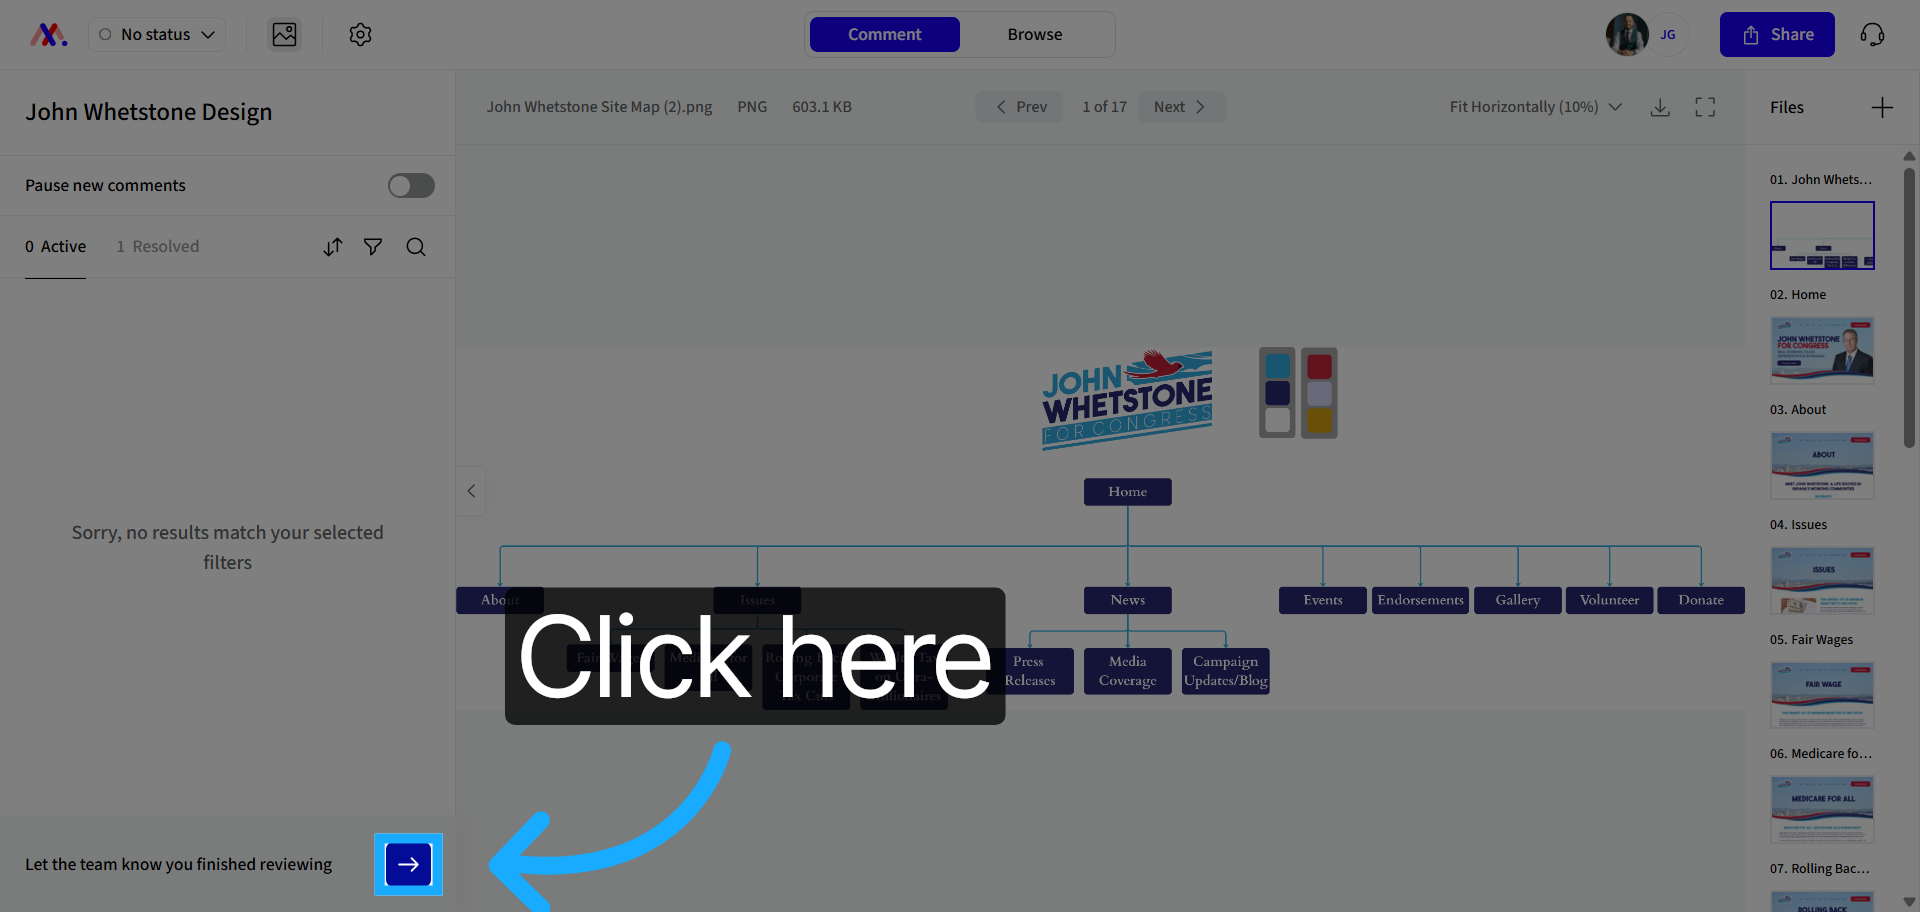
6. Review Website Project Example
On this example, this is a website project and the first page you're seeing is a site map. This shows how the pages of your website connect to one another.
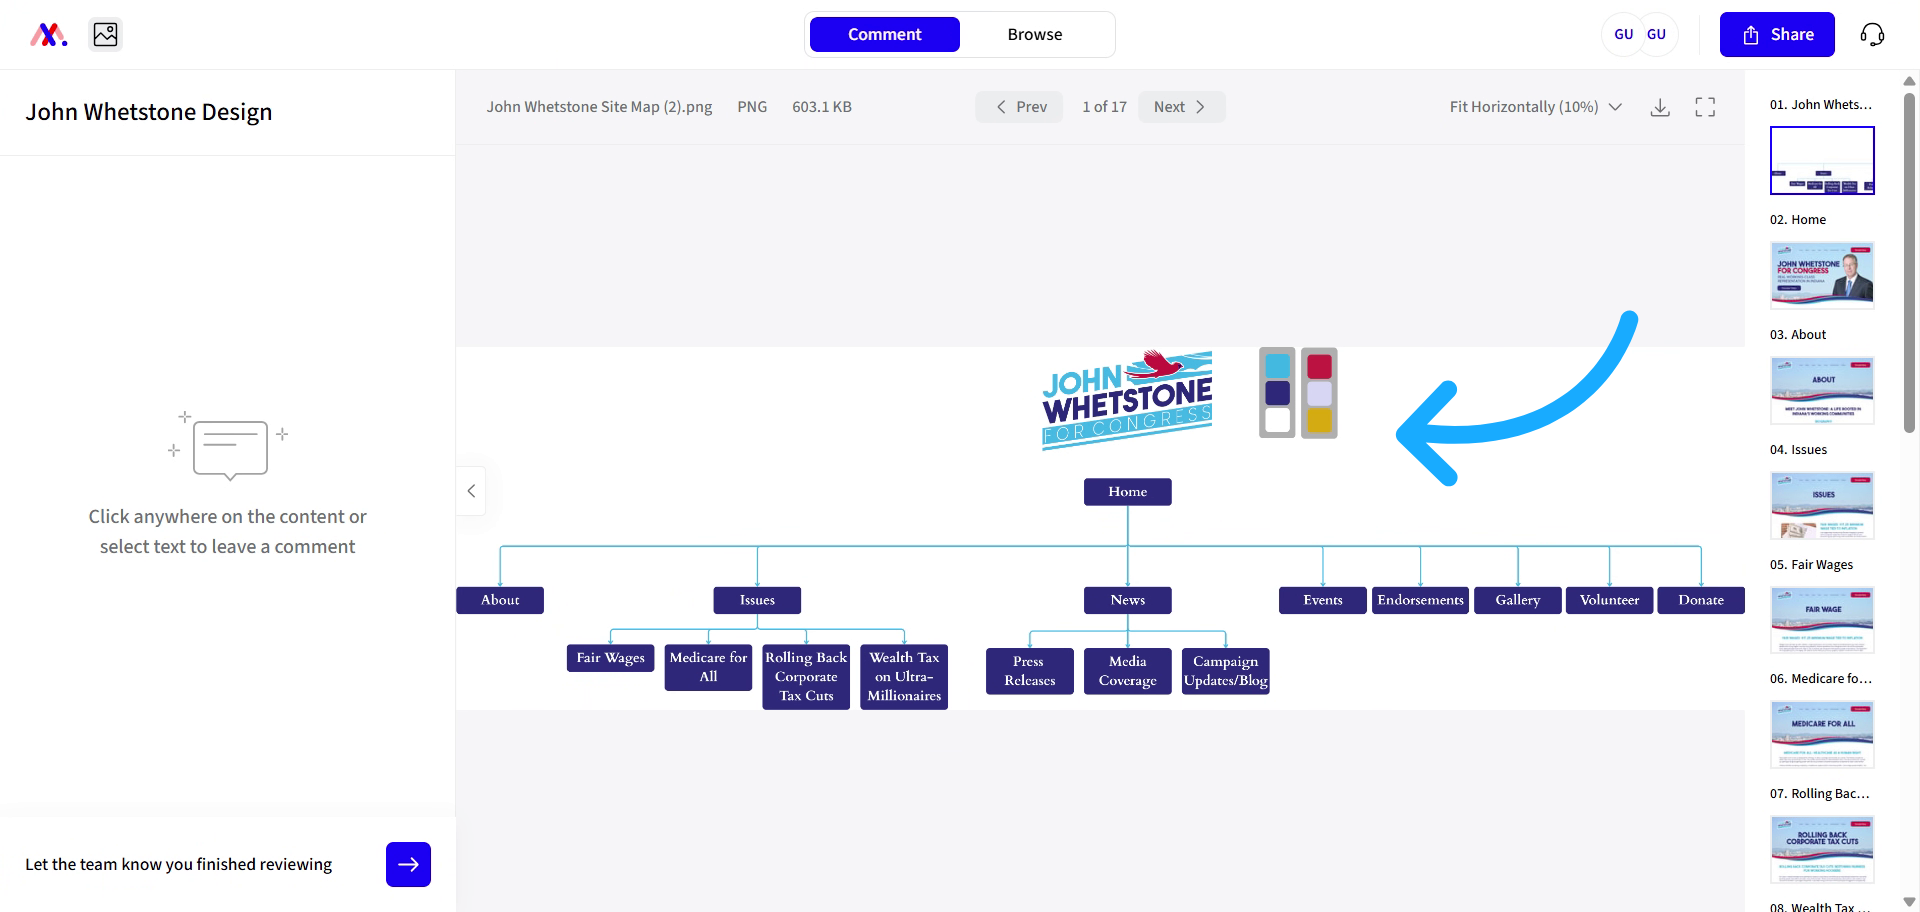
7. Explore Site Map Navigation
You can see the homepage, all the menu items, and submenu items. I'd like to show you the navigation around this page now.

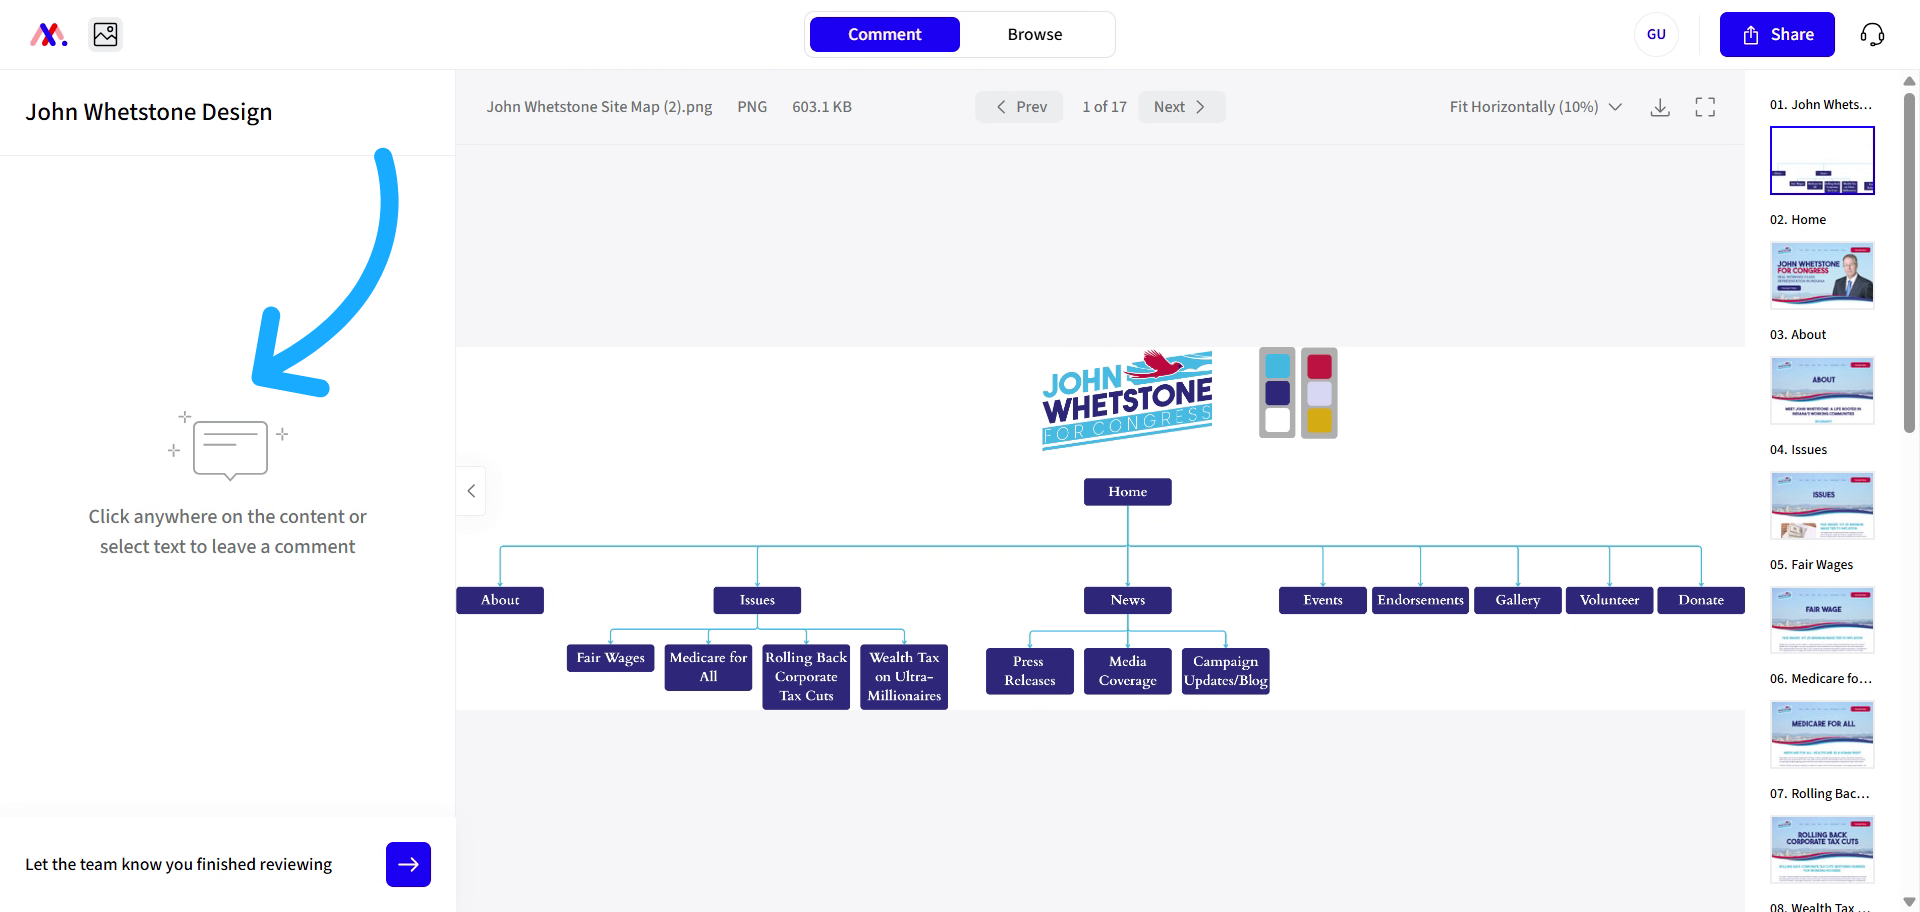
8. Locate Comments Section
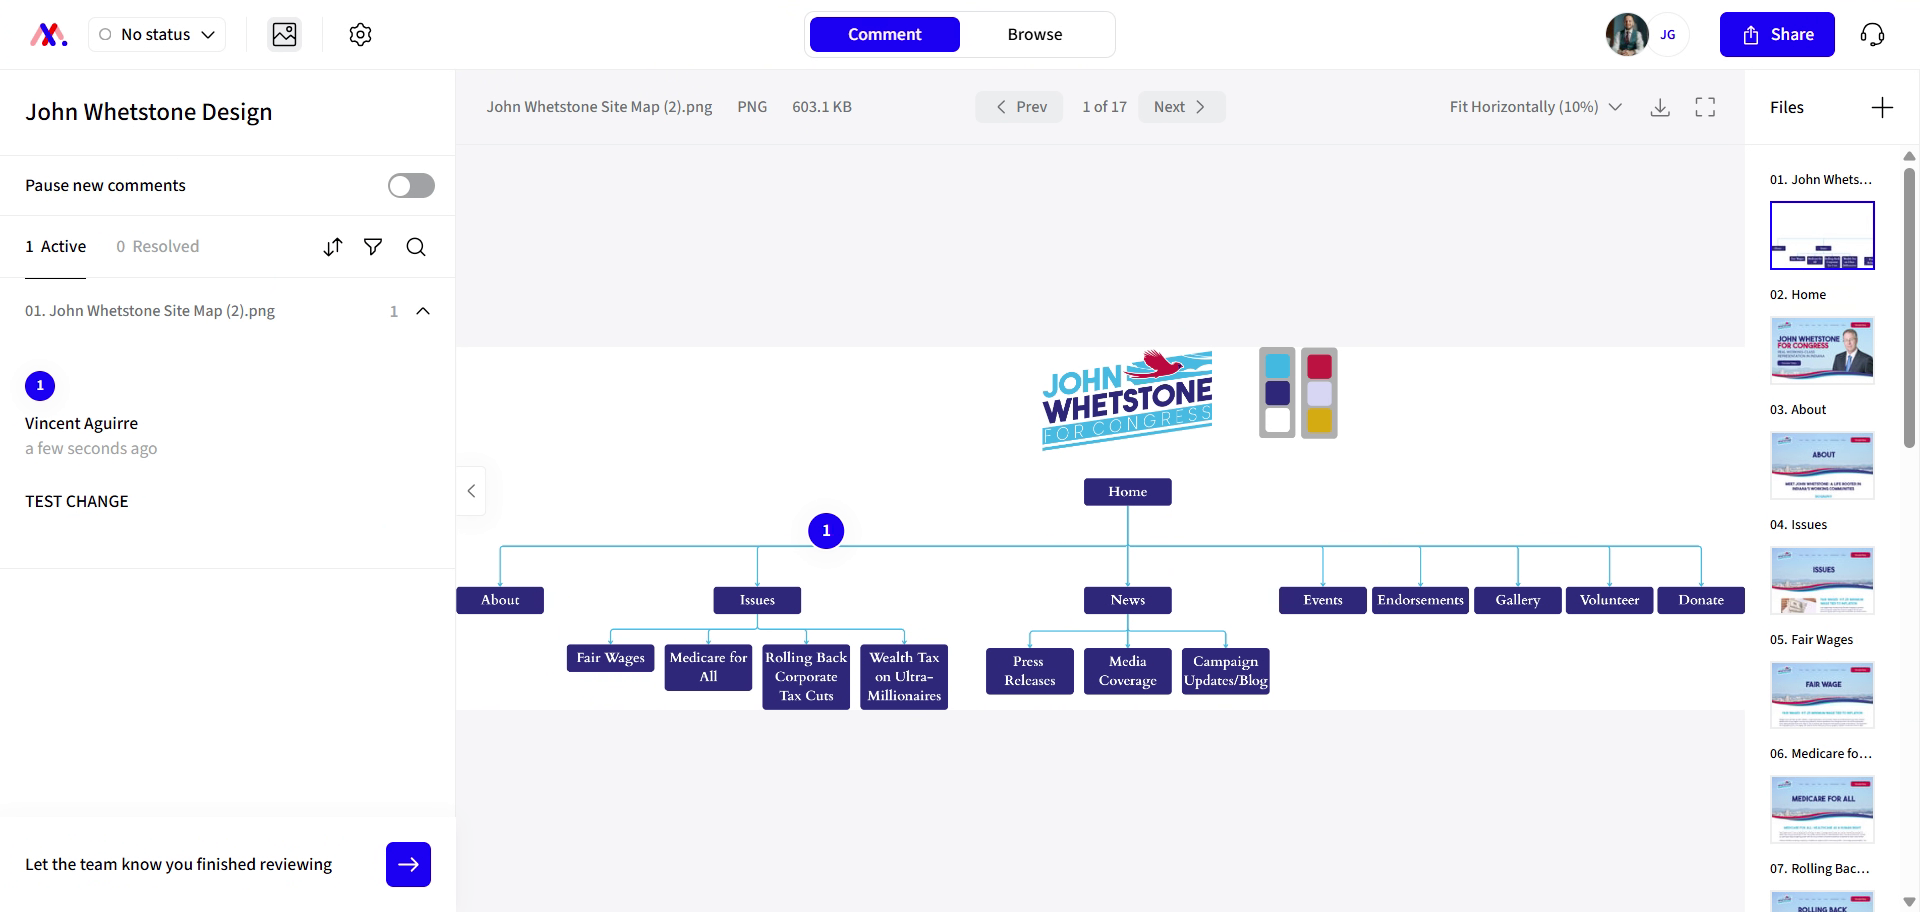
Here, on the left side is where you will be able to see all the comments that are left on the page.
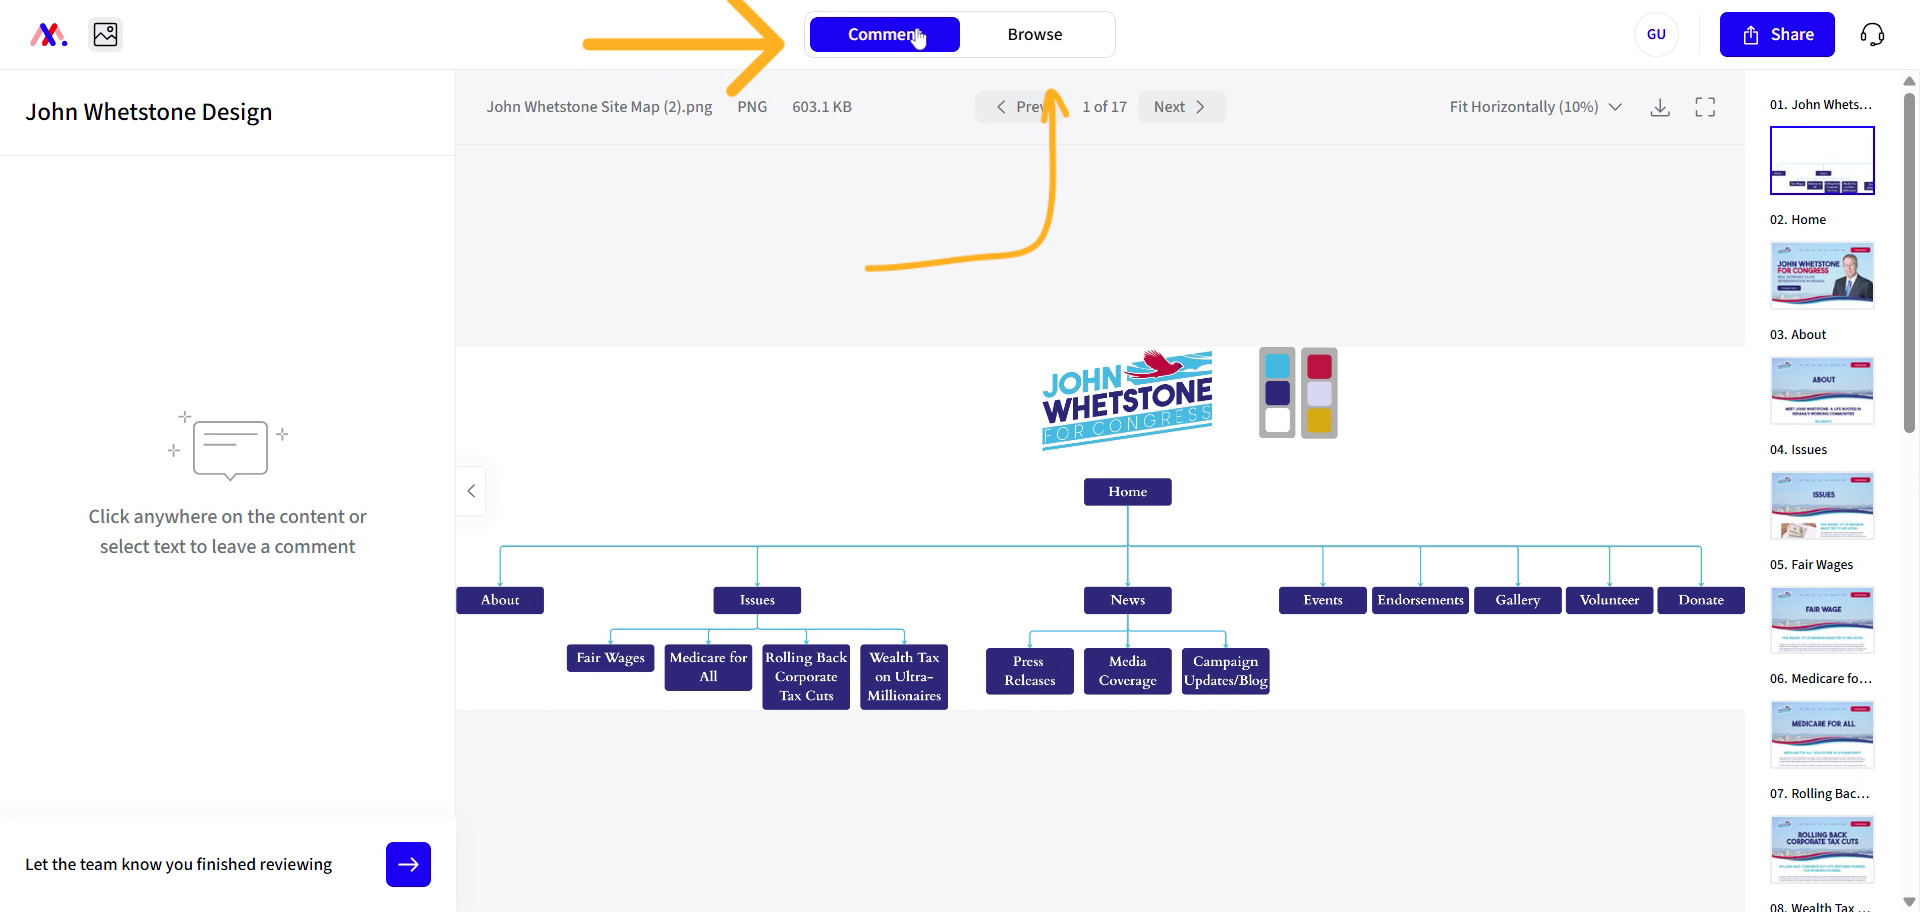
9. Switch Between Comment and Browse
As you can see, we are currently in the comment section. You can switch to the browse section.
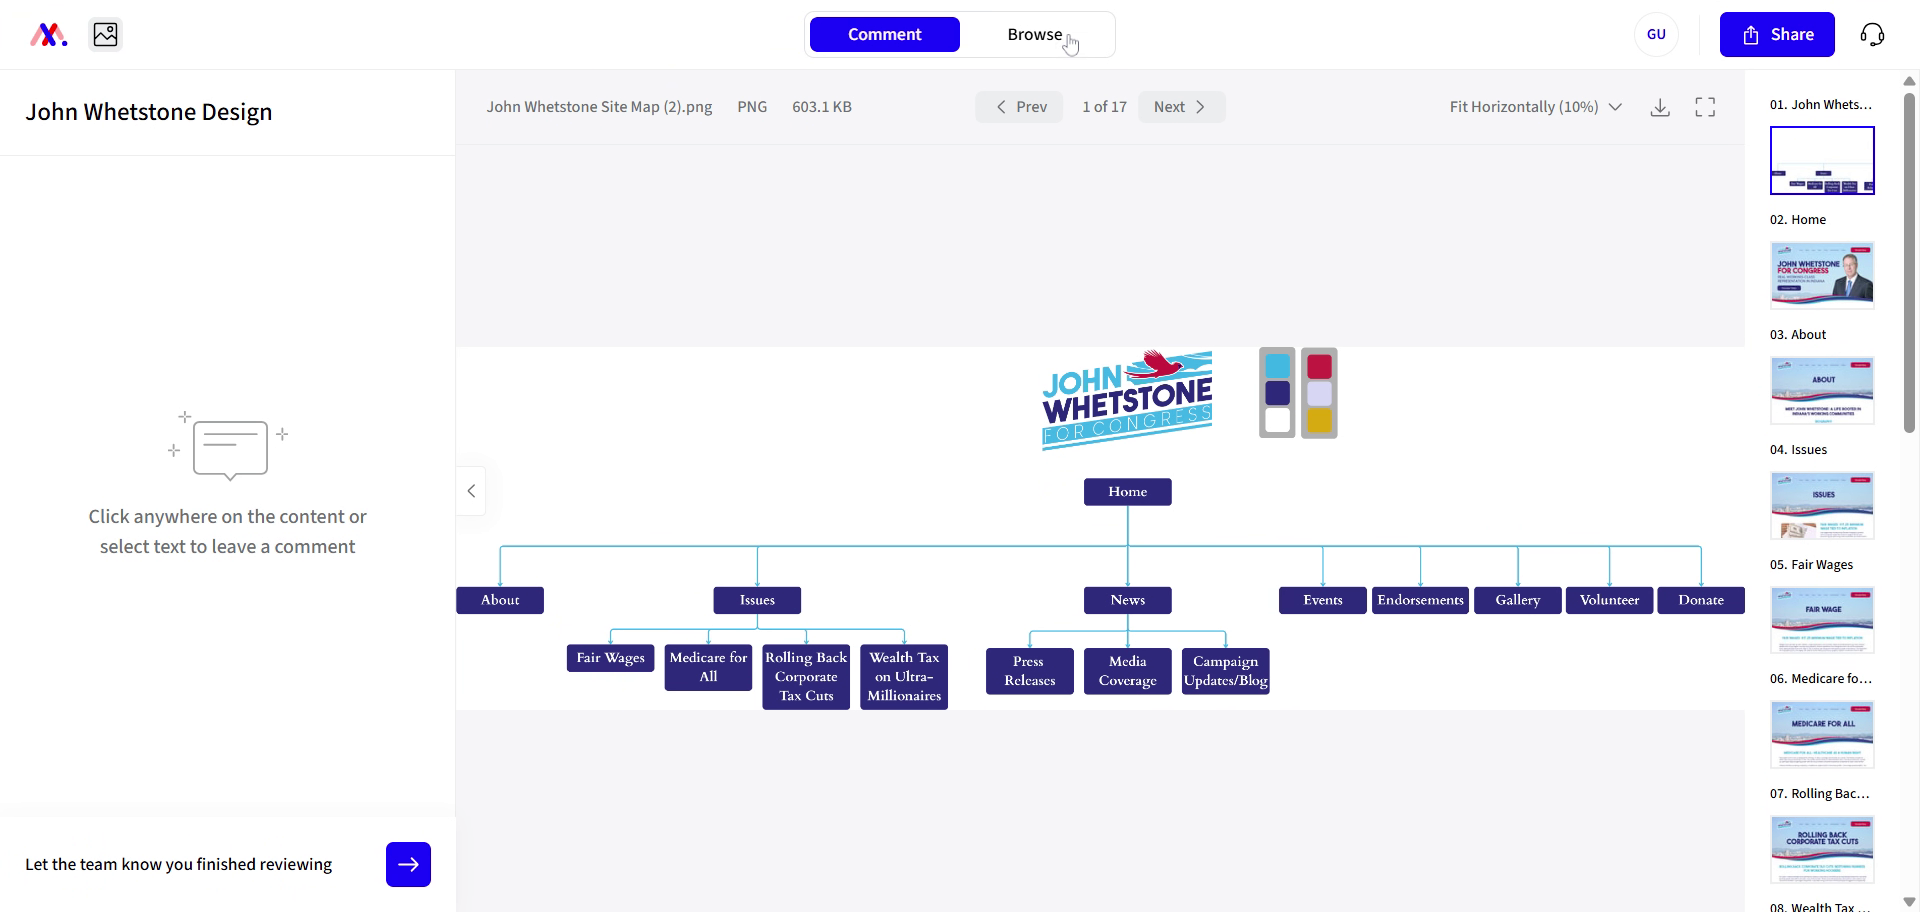
10. Navigate Without Commenting
To navigate around without leaving comments, use the browse section.
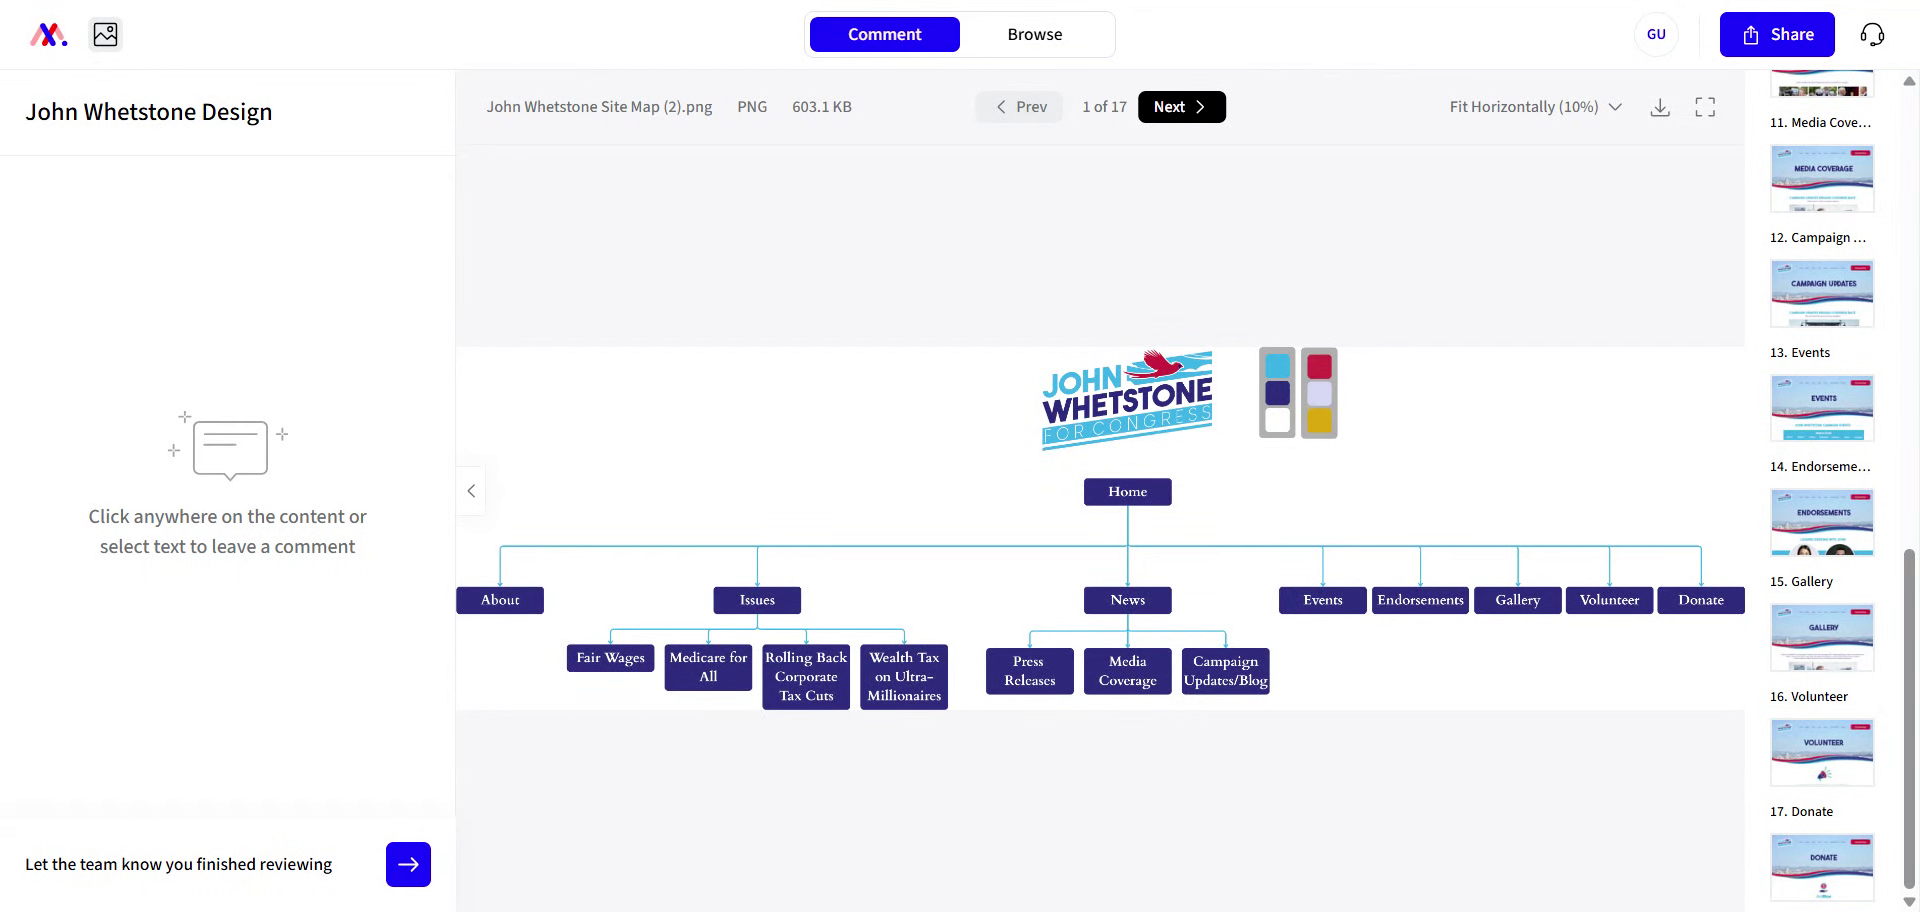
11. Browse Design Pages
On the right side, you can see all of the pages of design and you can click through them as needed or you can navigate using the next icon at the top.
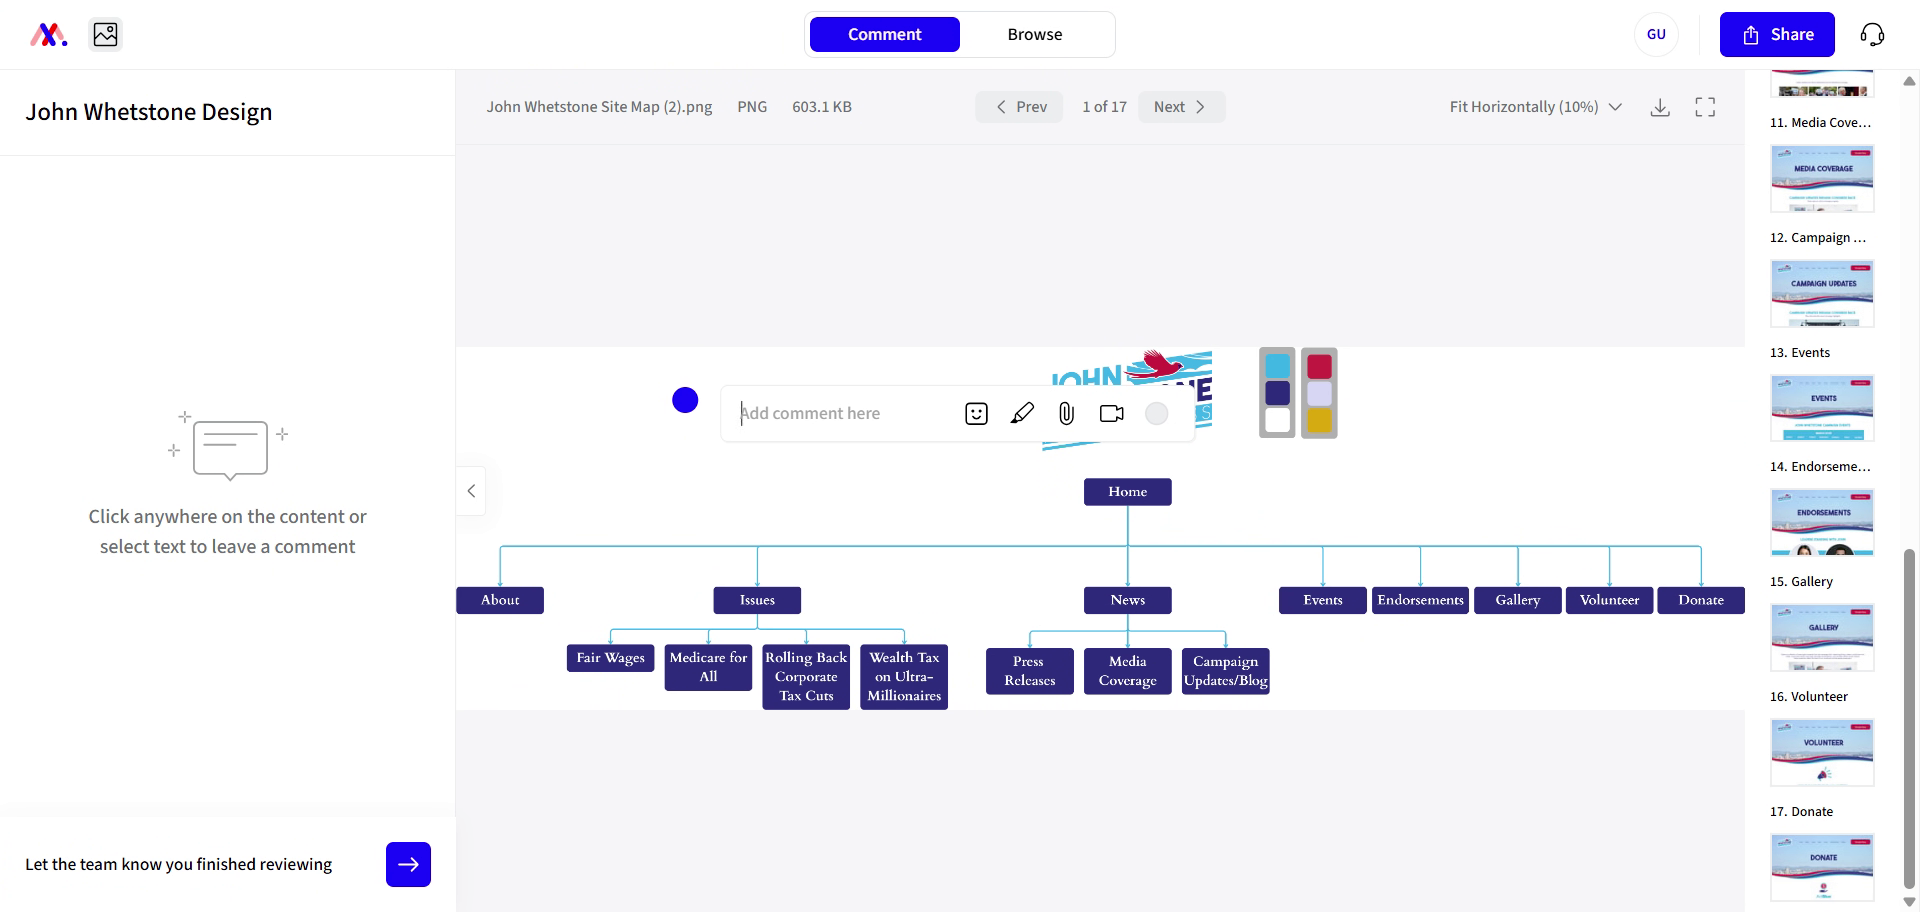
12. Initiate Commenting on Page
So to leave a comment, it's pretty simple. You can click anywhere on the page and a comment box will appear. You can comment via text.
13. Enter Your Comment Text
Enter your comment in the provided text box.
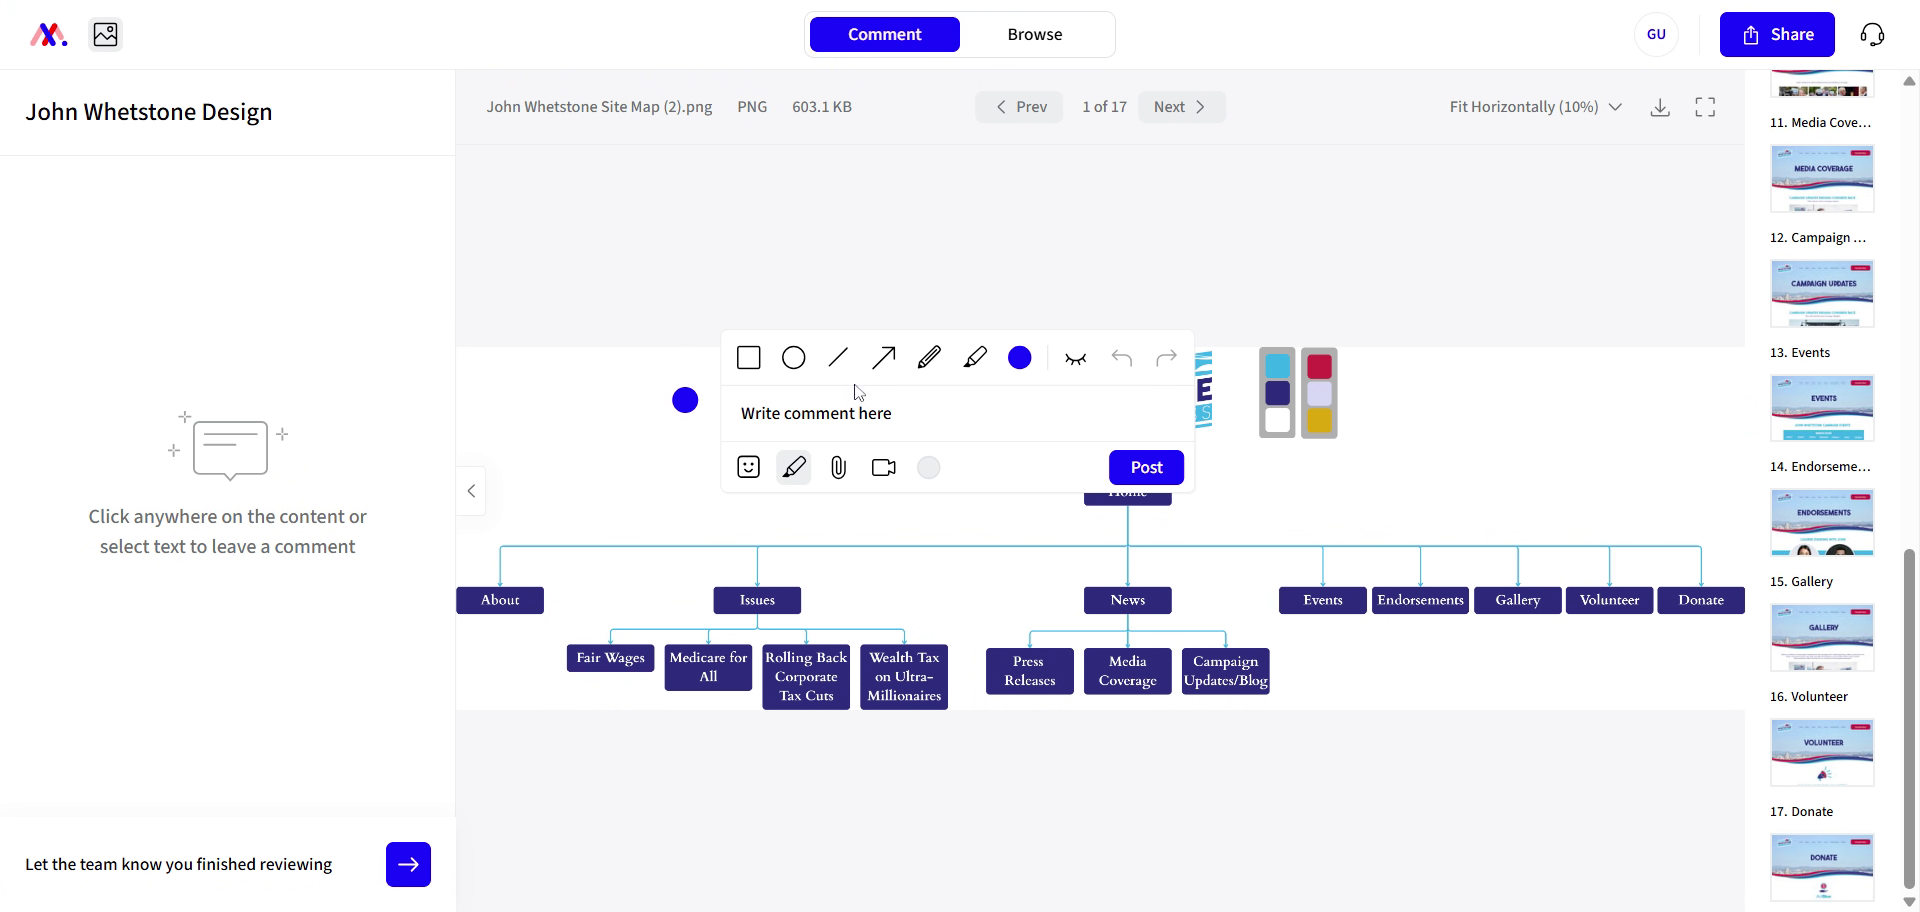
14. Add Drawings to Comments
You can include drawings.
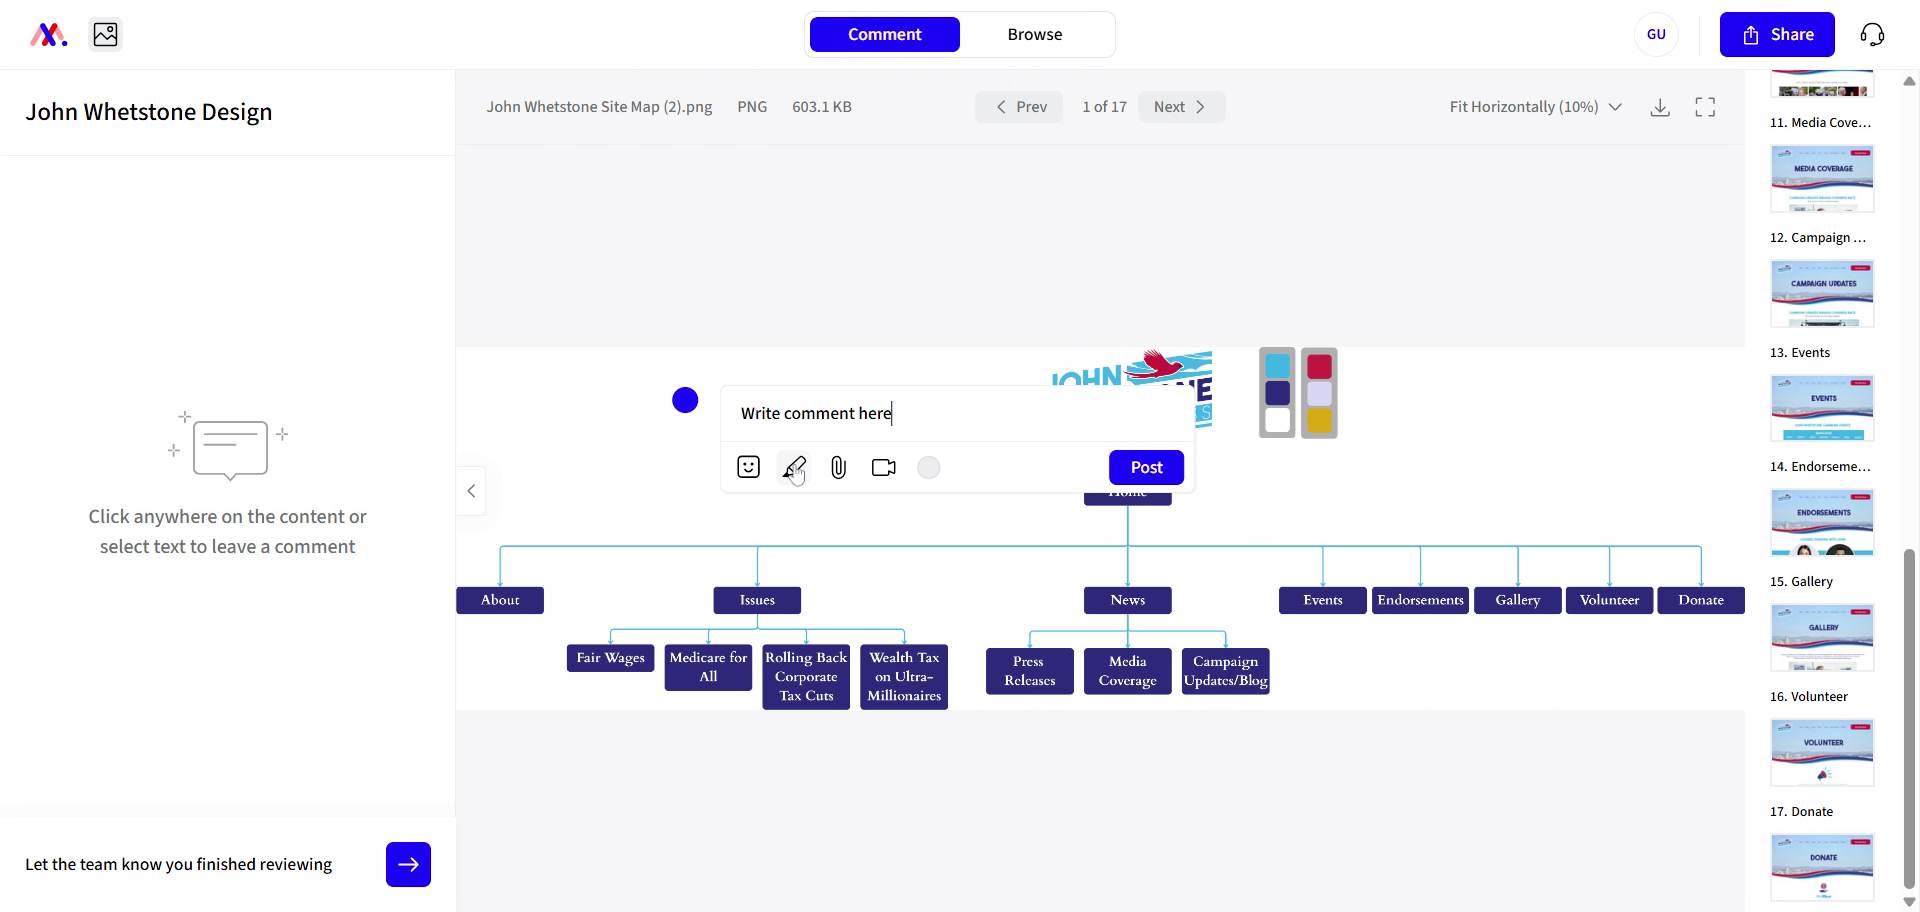
15. Select Drawing Tool
Click the drawing tool to add visual notes.
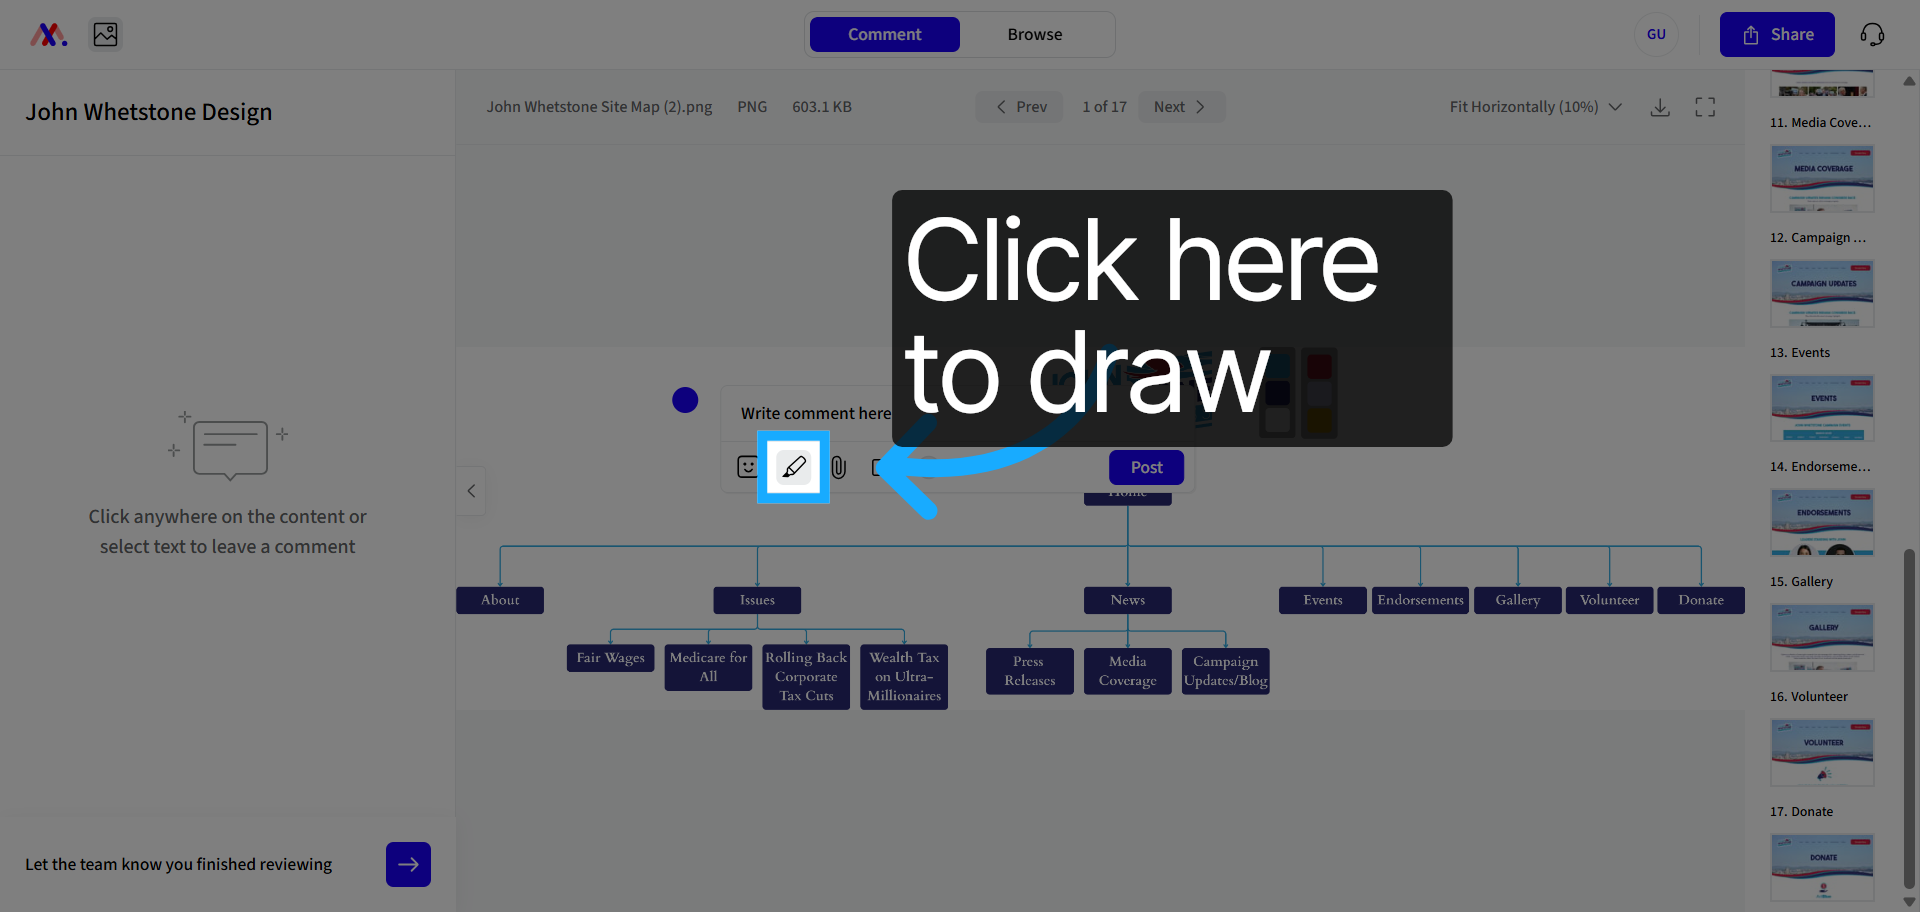
16. Use Marker Icon for Drawings
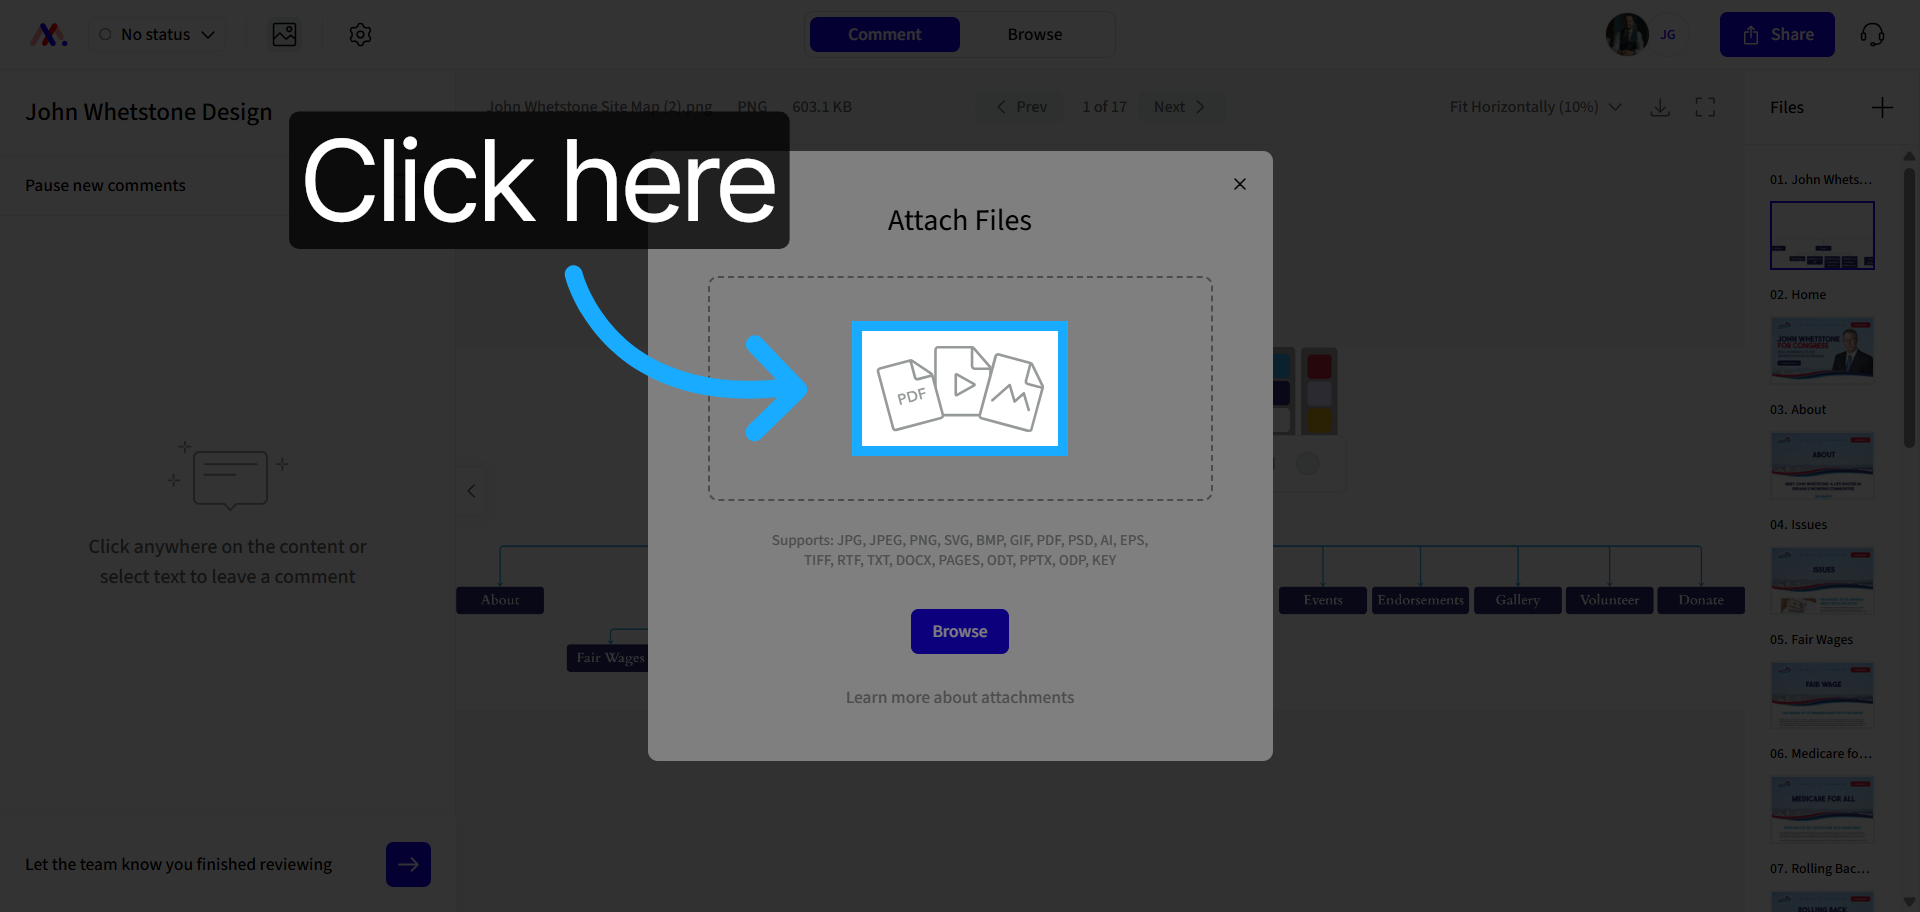
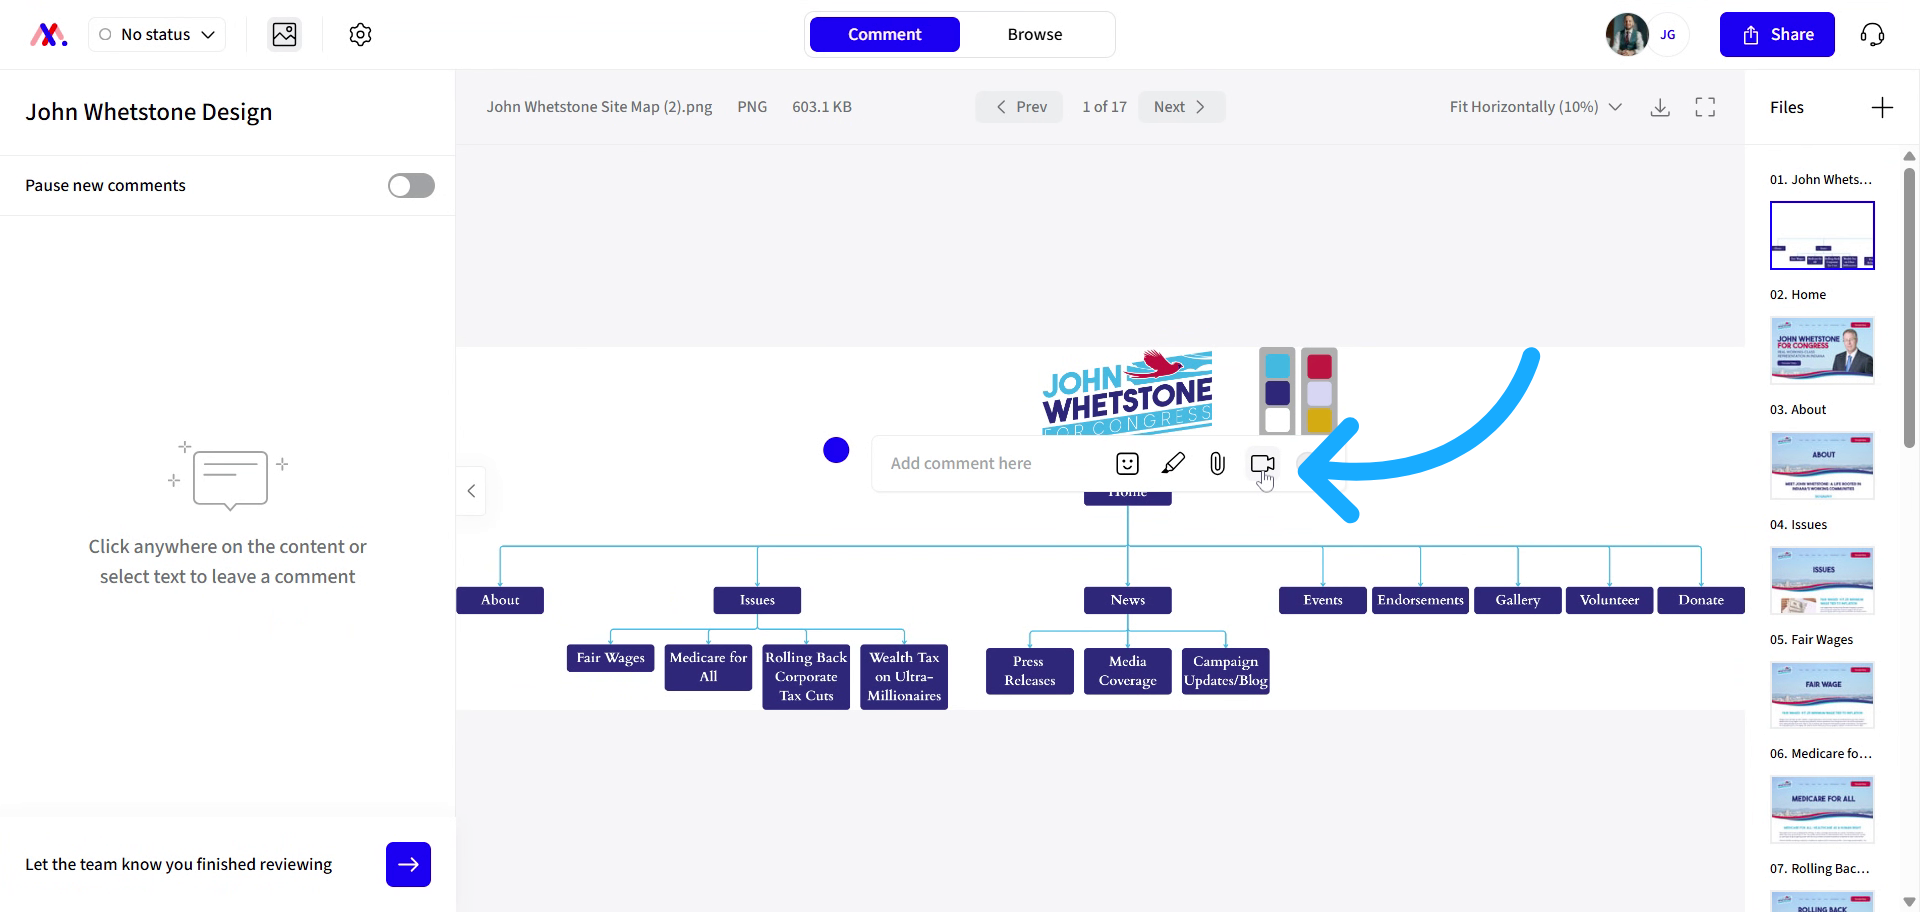
By clicking on the marker icon, you can include drawings. You can add attachments such as videos.
17. Click Attachment Button
Click the attachment button to add files.
18. Use Video Recording Feature
My favorite feature is that you can click the video button to let you record a video talking through and showing exactly where you want changes to be.
19. View Changes Made
When comments are added
20. Review Comments and Additions
You'll see them on the left side where you can click on them to leave comments or add additional videos attachments.
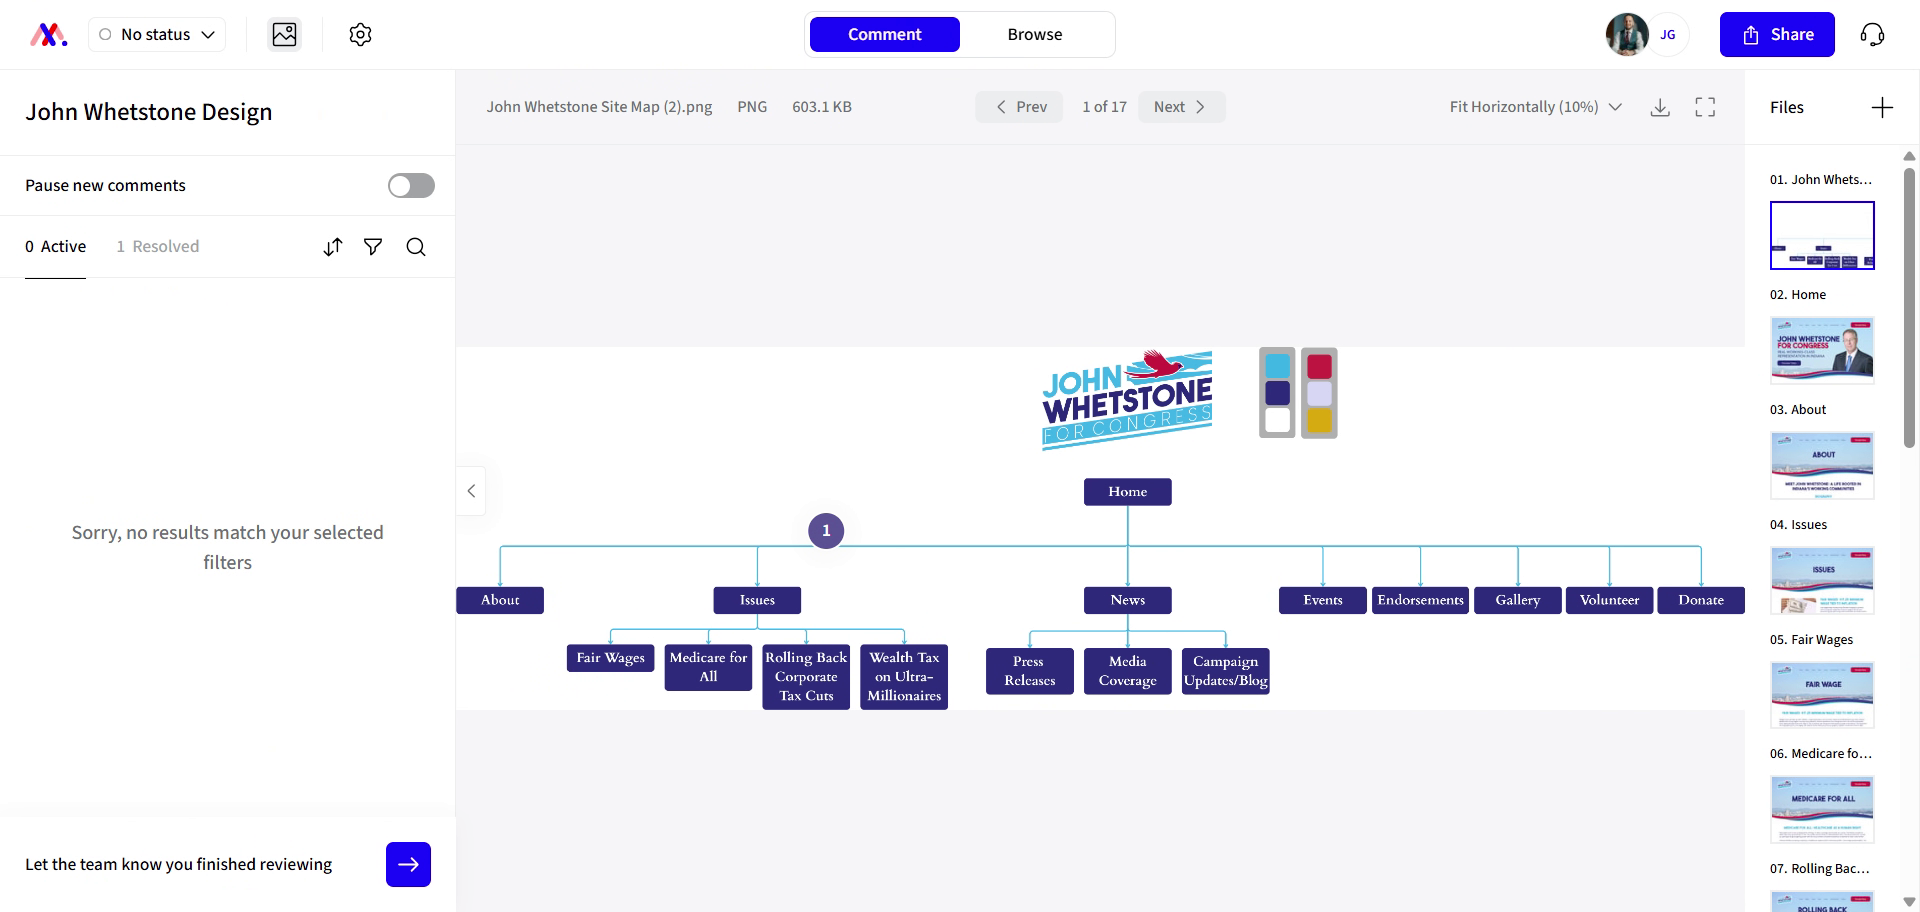
21. Mark Items as Resolved
And when something is completed, you can hit the green check mark to mark it as resolved.
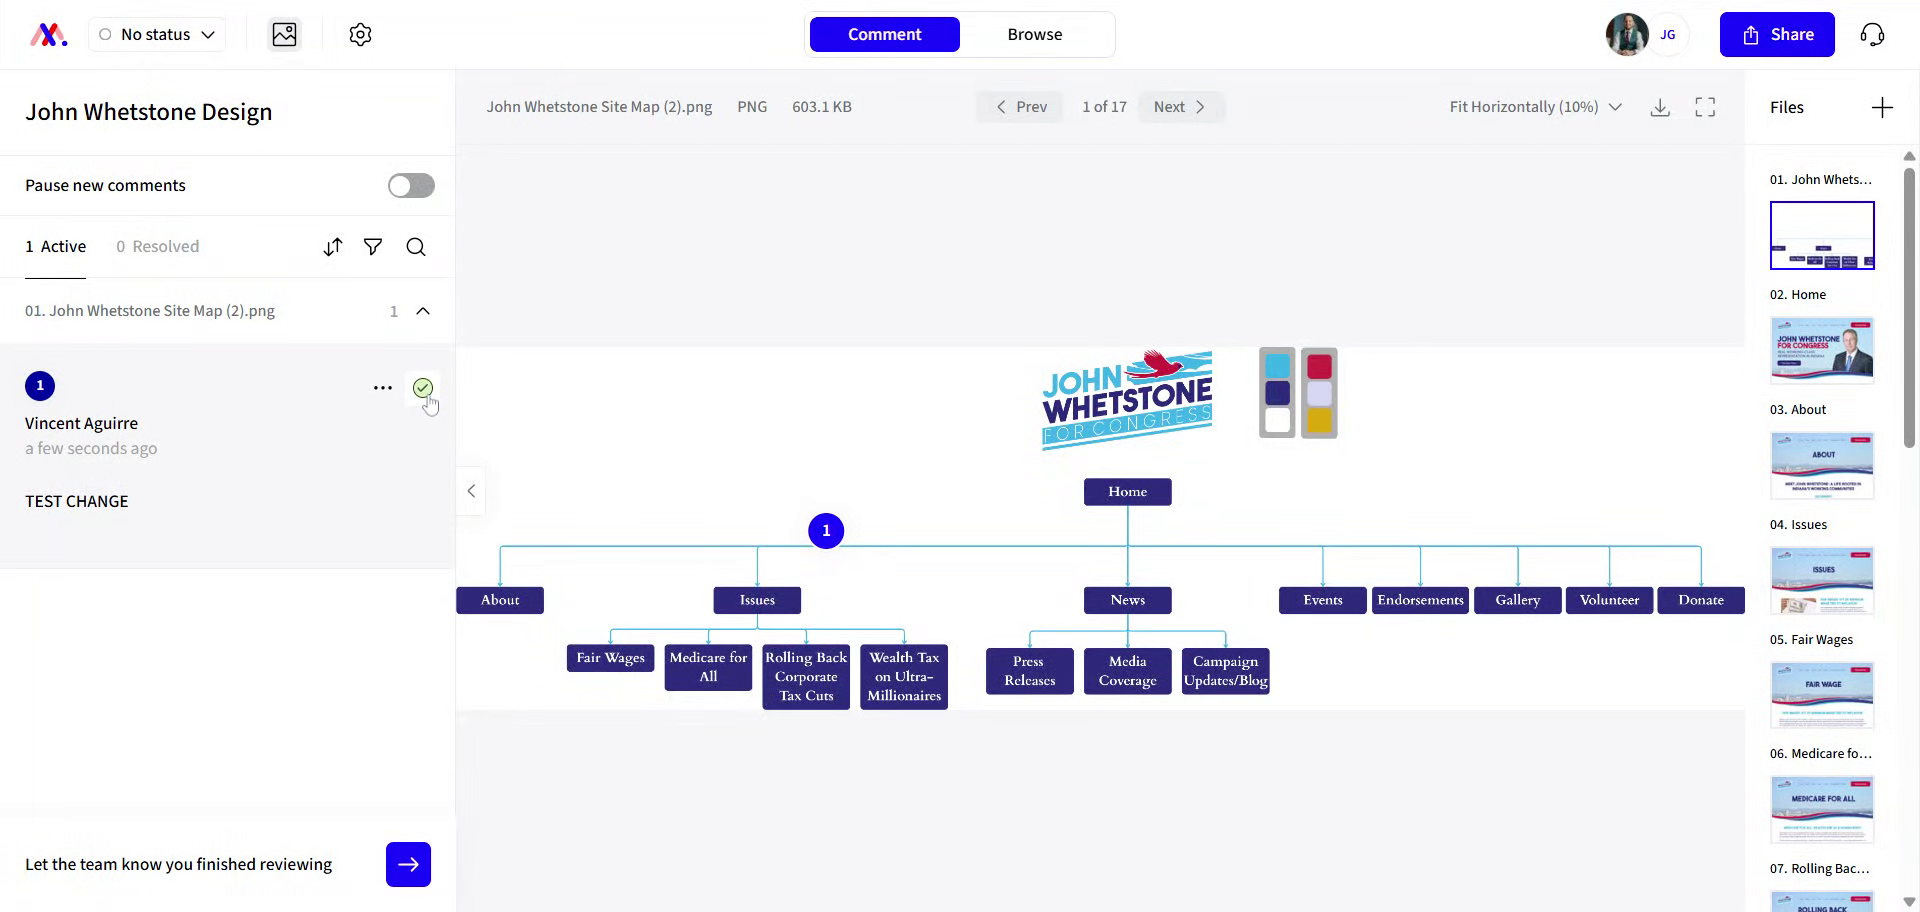
22. Click Resolve Button
Click the resolve button to mark feedback as addressed.
23. Notify Team of Review Completion
When you're done leaving feedback completely you can hit the blue arrow at the bottom. It says, let the team know you finished review.
You have successfully learned how to leave detailed website and design feedback using markup tools, including adding comments, drawings, attachments, and video recordings. After completing your review, notify the team to begin implementing your suggested changes.
Visit our Online Community
Distinct is launching a vibrant online community that is totally free! Talk with others in your industry, download free graphic packs, take advantage of exclusive workshops, and more!
Click here to sign up for our community.
Click here to sign up for our community.
Related Articles
Using Captcha on Website Forms
Using Captcha on website forms can reduce bots and spam, but we typically recommend clients not use captcha because it adversely affects page speed. If the bot/spam activity becomes overly annoying to the client, we can weigh pros and cons and ...SEO Questions for using PDFs and Graphics on website.
From an SEO perspective, it's always best to NOT use a PDF/ Graphic and instead post as written content on the website. One compromise to ensure SEO and well-kept records is to post the written text, similar to a blog, and have a link to the PDF ...Client Website Shows the wrong name when searching on Google.
We can update content on a website to indicate to Google that we would like for Google to use it. We can never guarantee how fast Google will pickup the changes or if they will adapt them. However, they should easily adapt information like website ...What Tools For Online Donations Can Distinct Use?
Option 1 is our preferred option which would be using ZOHO Checkout. If zoho is used Distinct can provide setup. If a third-party tool is used, the client will do most of the setup and provide Distinct with a link or embedding code. Some additional ...How to integrate your own google sheets into your website forms so that all submissions enter into your sheets
Email your MA - inform them you want access to all submissions for your forms (ie. application or contact list) Expect an email back, your MA should notify you that you now have access to edit the form so you may integrate Follow these steps below 1. ...